
Table of Contents
ToggleWebsite Setup
Your website setup is complete. We have shared the information listed below via email:
- Your Domain
- UserName
- Password
Login to Your Website
Please follow the instructions below and login into the website before the Website Designing class.
- Check the two URLs given below:
- YourDomain -> This URL will take you to the front end of your website. (Eg: https://gym.purple-brick.com/ )
- YourDomain/wp-admin -> This will take you to the backend of your website. (Eg: https://gym.purple-brick.com/wp-admin)
- Login to your website’s backend
- Goto YourDomain/wp-admin, Add the username and password (shared via email) in the respective fields and click on Login.
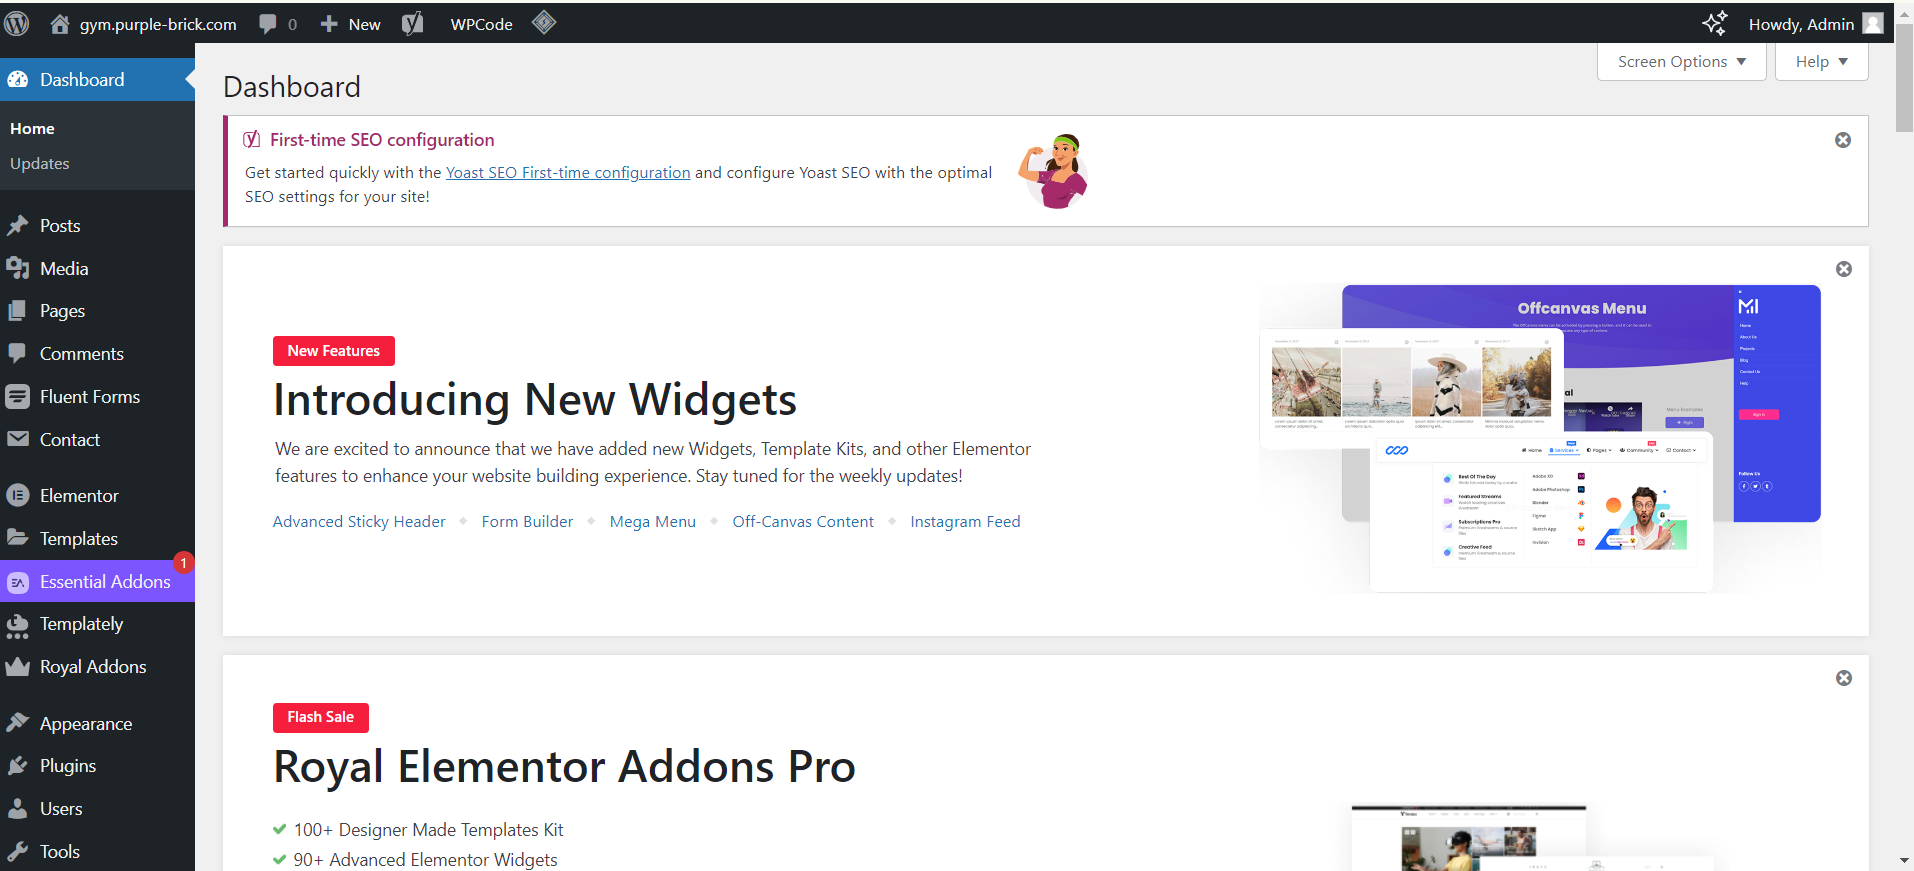
- You will see an image of your WordPress dashboard which will look like the image attached.
If you do not have credentials, please email to learn@thepurplebrick.com
*People who have their own websites have been provided with another website on which they can login. This is done so that they can follow the process during the class.
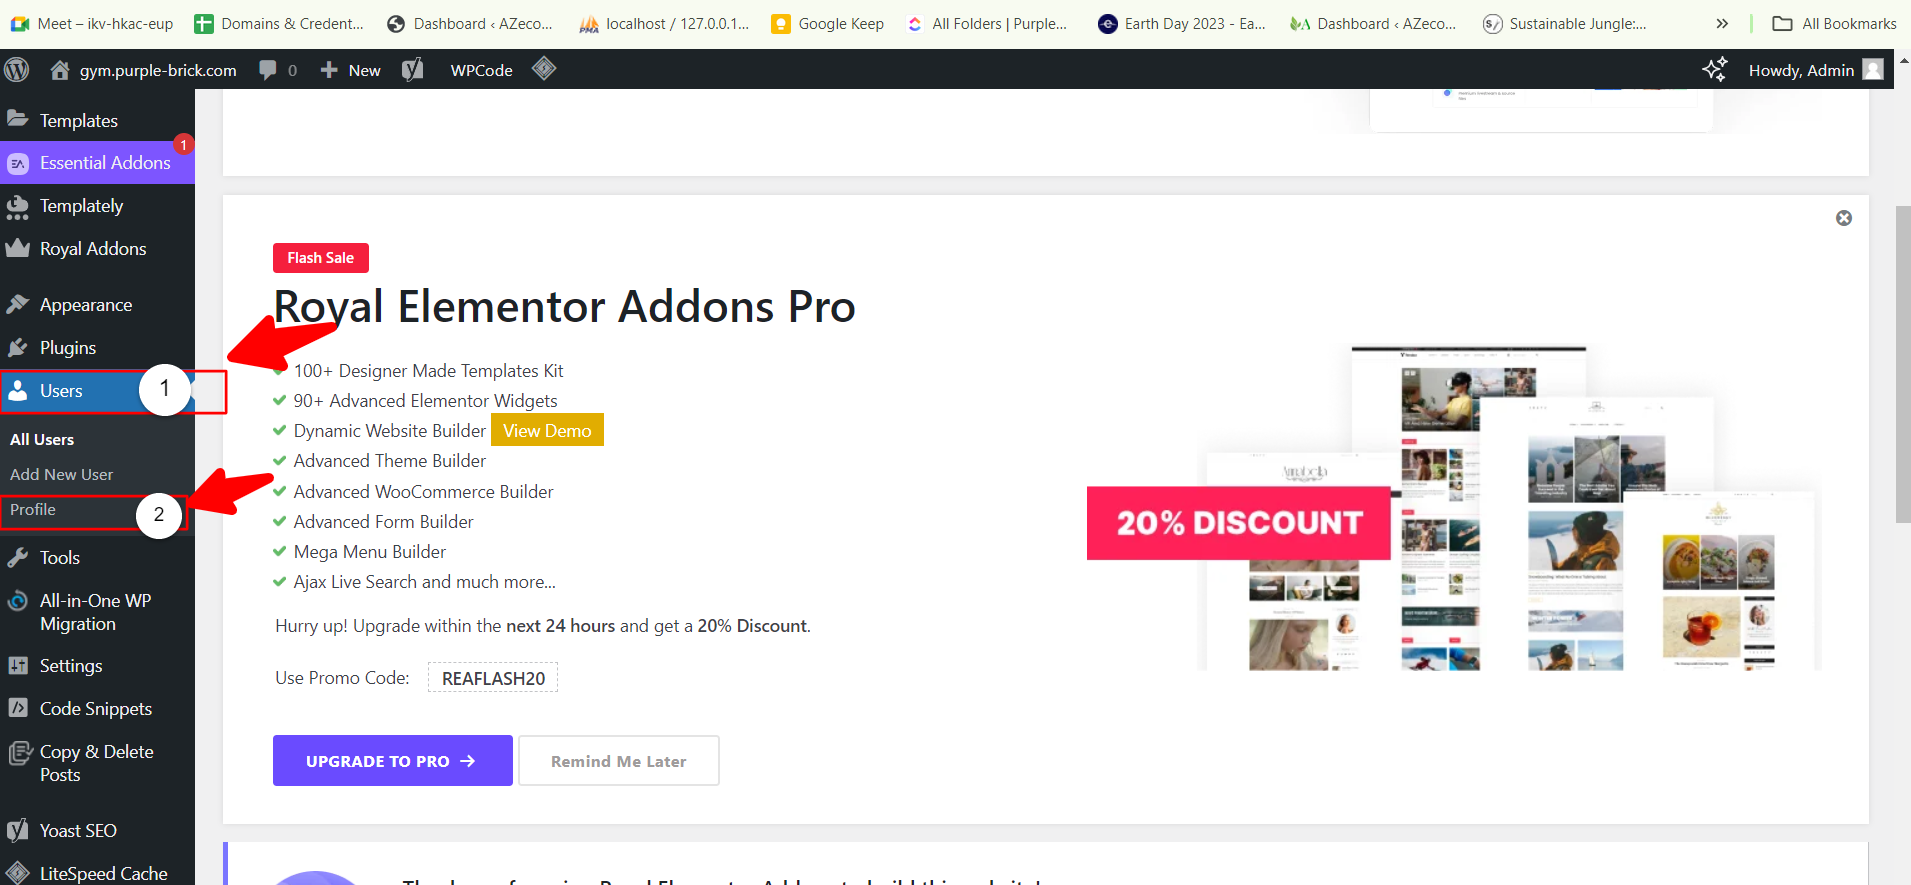
Change Your Password in WordPress
- On the left-hand side of the dashboard, click on the ‘Users’ tab.
- From the drop-down, select ‘Profile’
3. Scroll down until you reach the section labeled ‘Account Management’.
You’ll see an option to ‘Set New Password’.
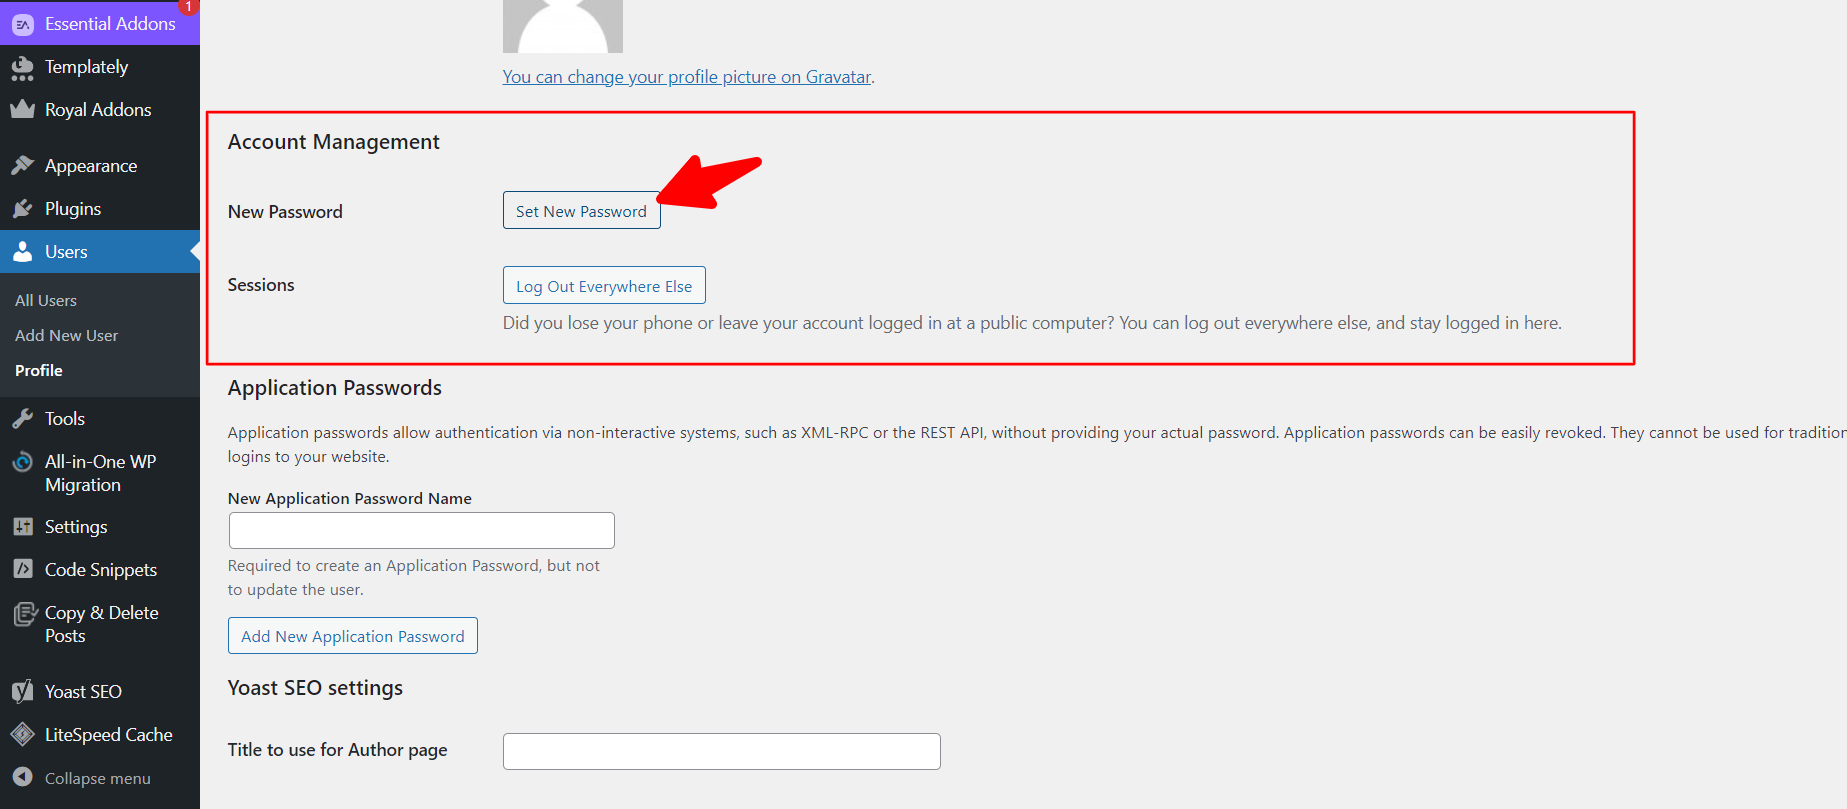
4. Click on the ‘Set New Password’ button.
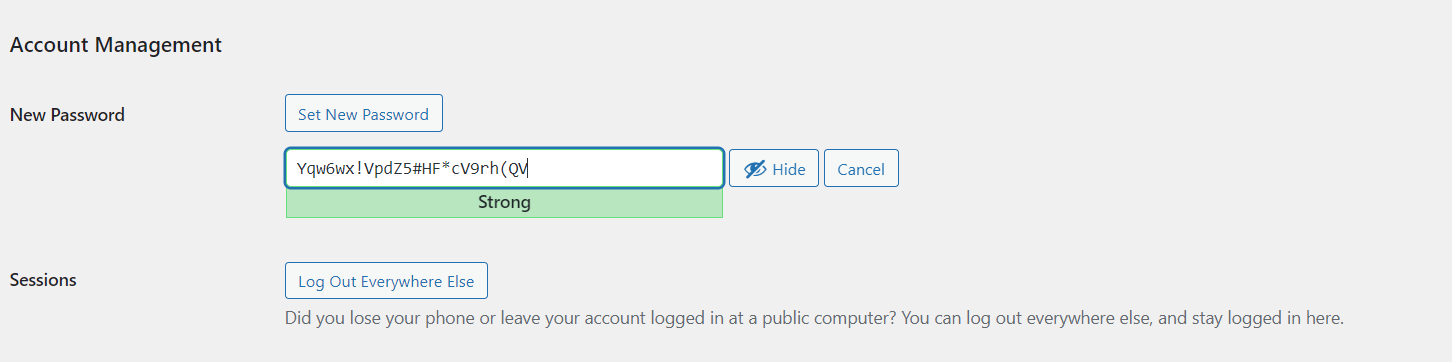
WordPress will suggest a strong password. If you want to use your own password, delete the suggested one and type in your new password. Save your password safely somewhere to ensure you can access it later.
5. After entering your new password, scroll down and click ‘Update Profile’ to save the changes.
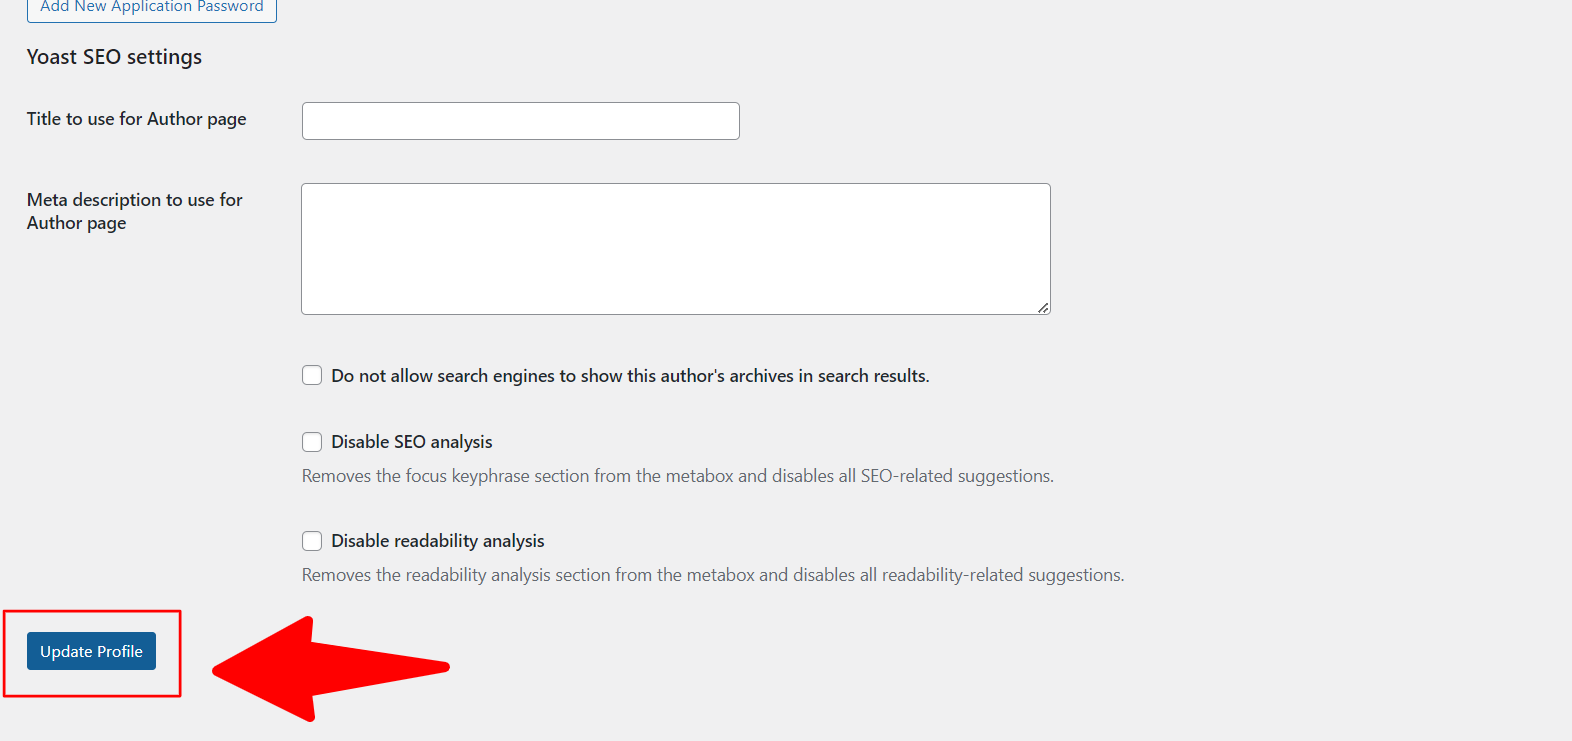
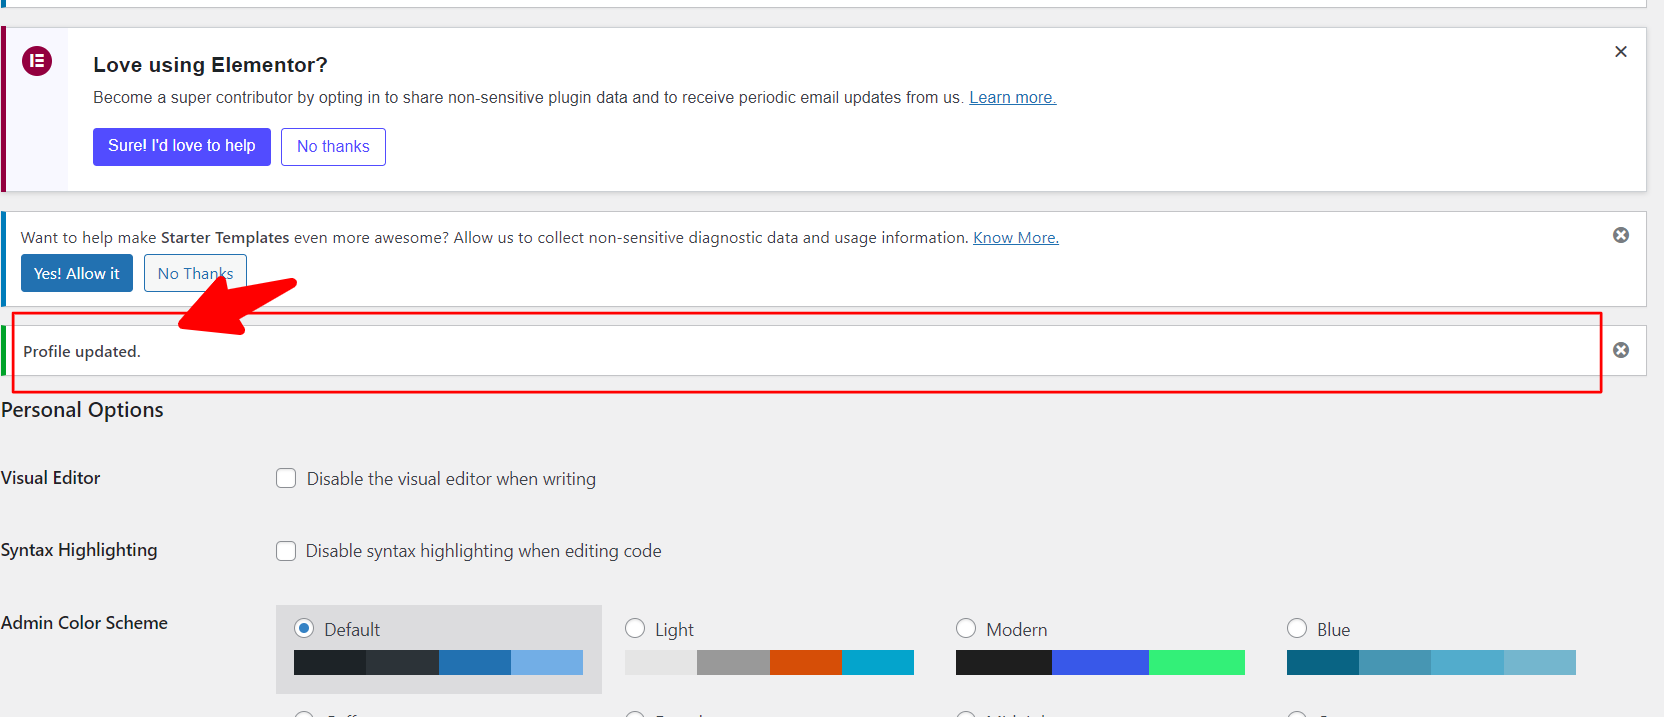
6. A message will appear confirming that your profile and password have been successfully updated.
7. Use your new password the next time you log in.
Change Your Email Address in WordPress
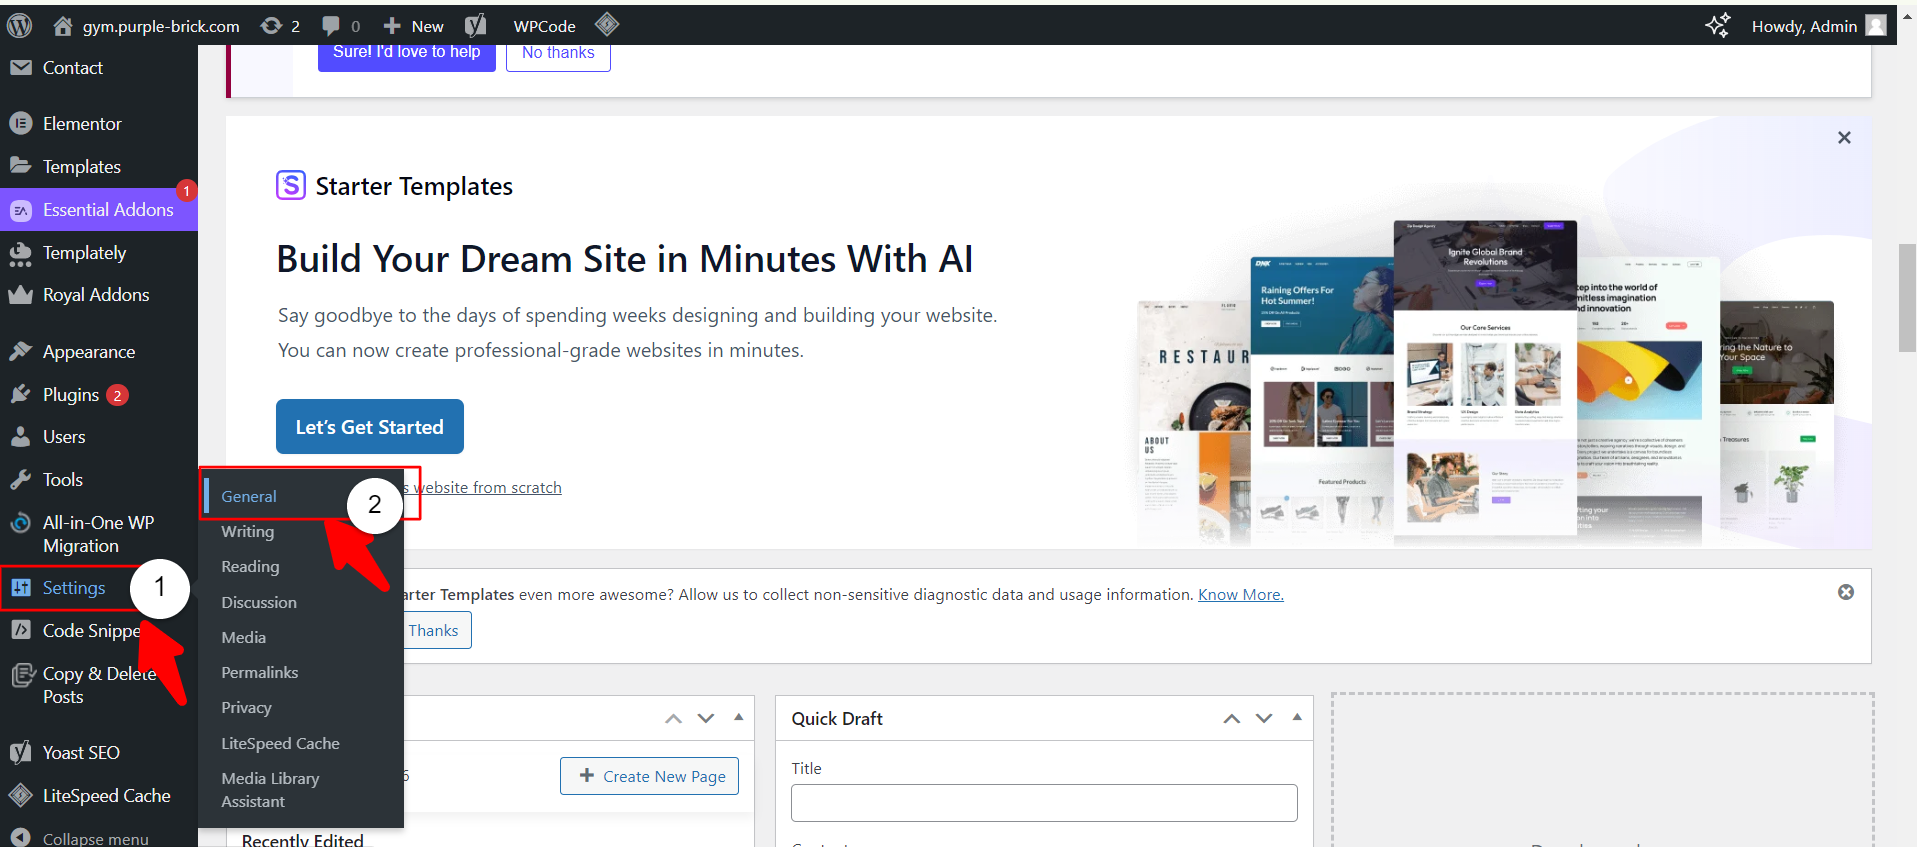
- On the left-hand side of the dashboard, hover over ‘Settings’.
- Click on ‘General’ from the drop-down menu.
3. Scroll down until you find the ‘Administration Email Address’ field.
This is the email where WordPress sends important notifications related to your website.
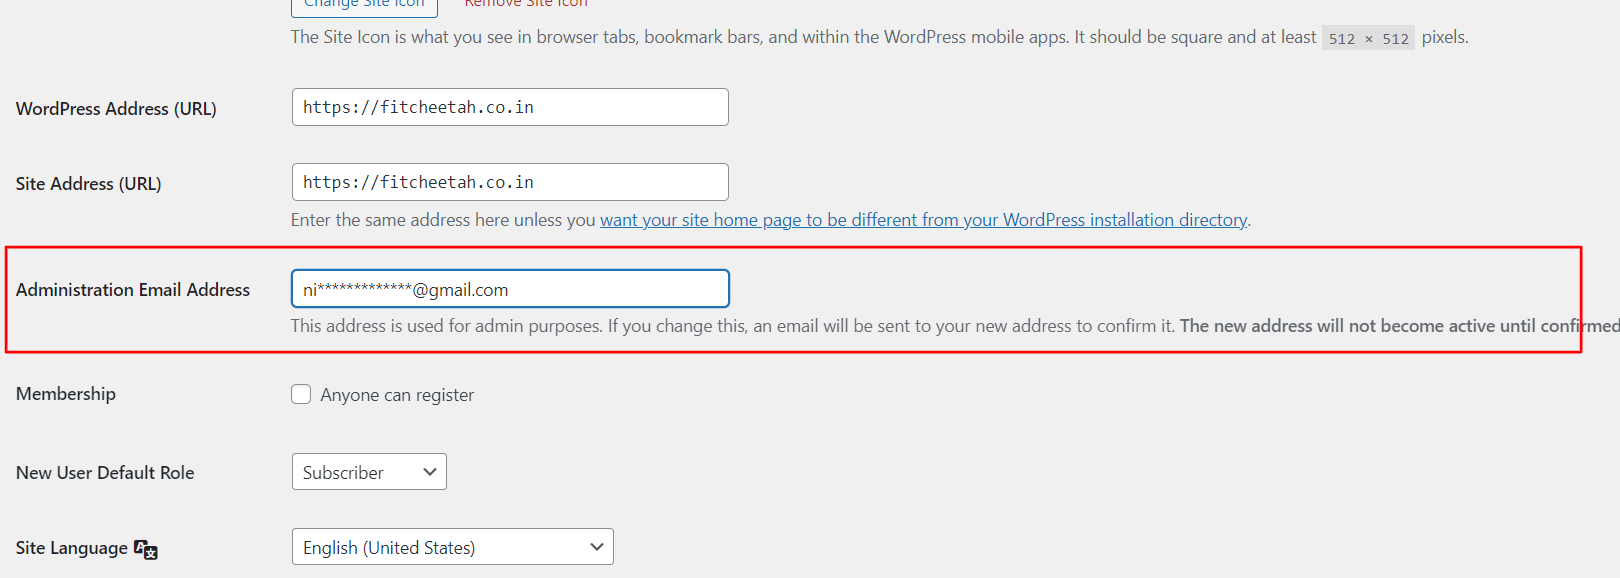
4. Click inside the email field.
5. Delete the current email address and type in the new one you want to use.
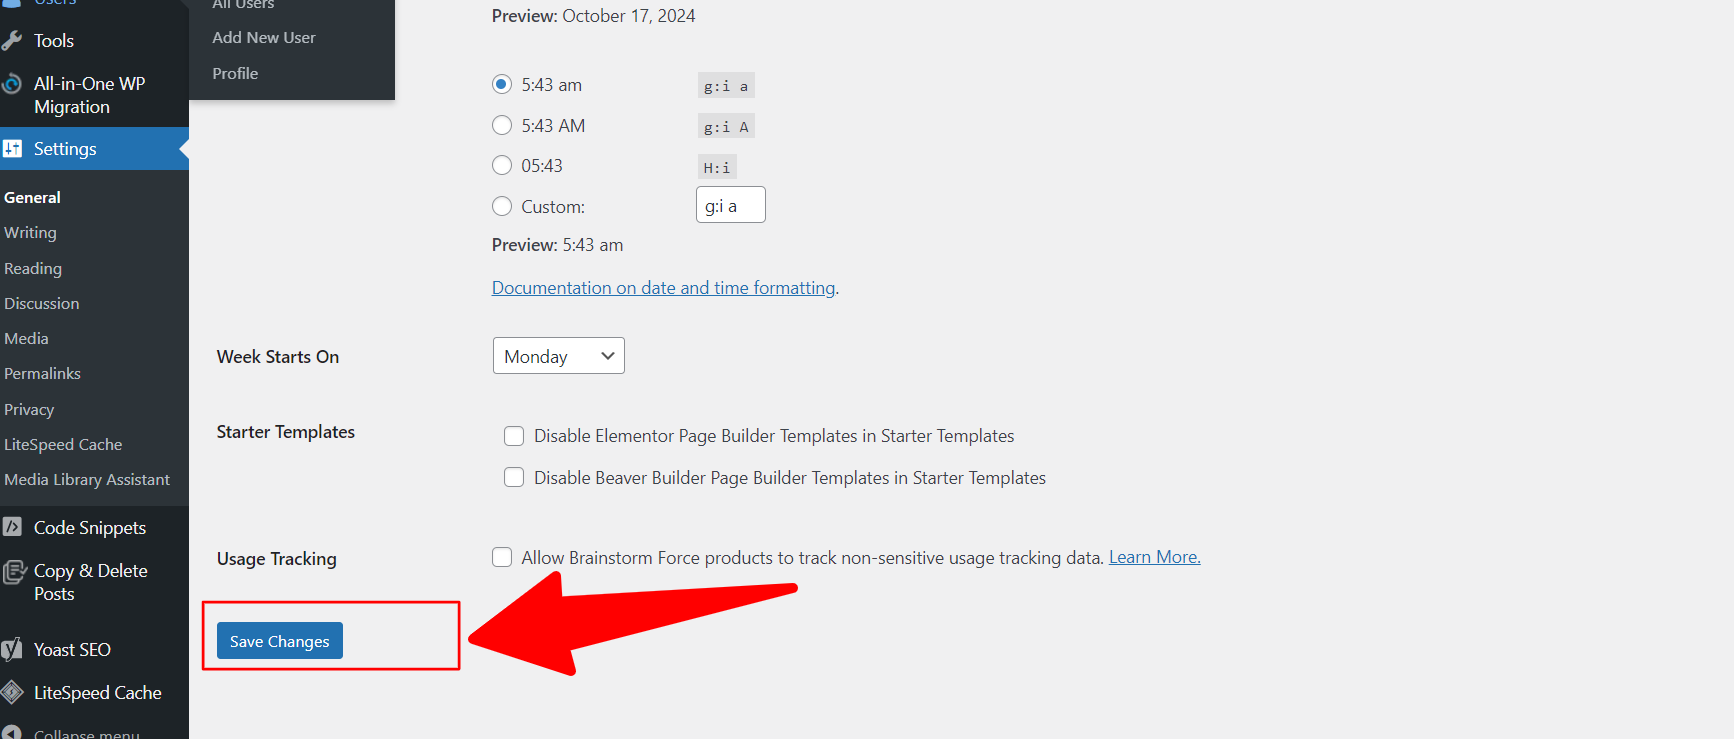
6. Scroll to the bottom of the page.
7. Click the ‘Save Changes’ button to update the email address.
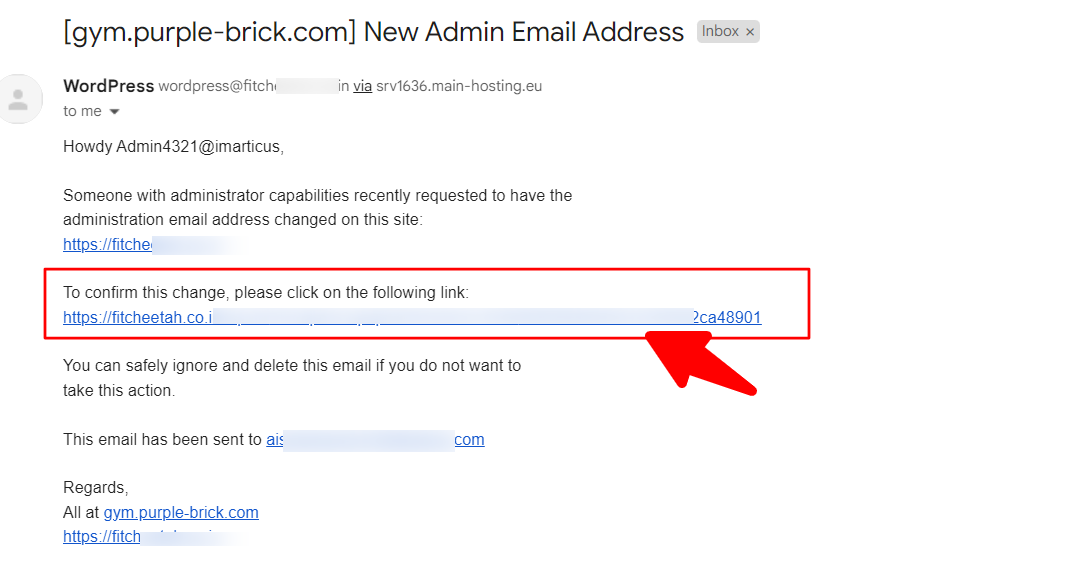
8. A confirmation email will be sent to the new address.
9. Check your inbox and click the confirmation link to finalize the update.
10. After clicking the confirmation link, you may need to enter your credentials again to confirm the change.
Once you’ve done this, your email address will be successfully updated.
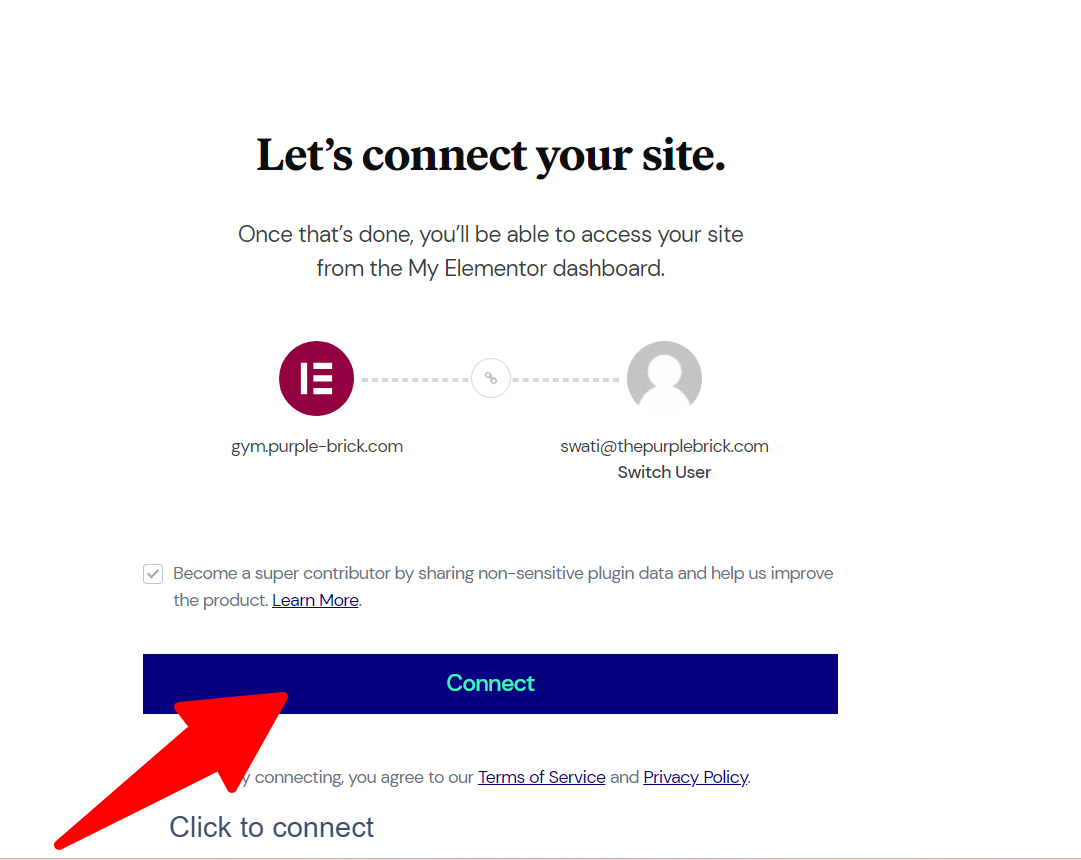
Create an Account on Elementor
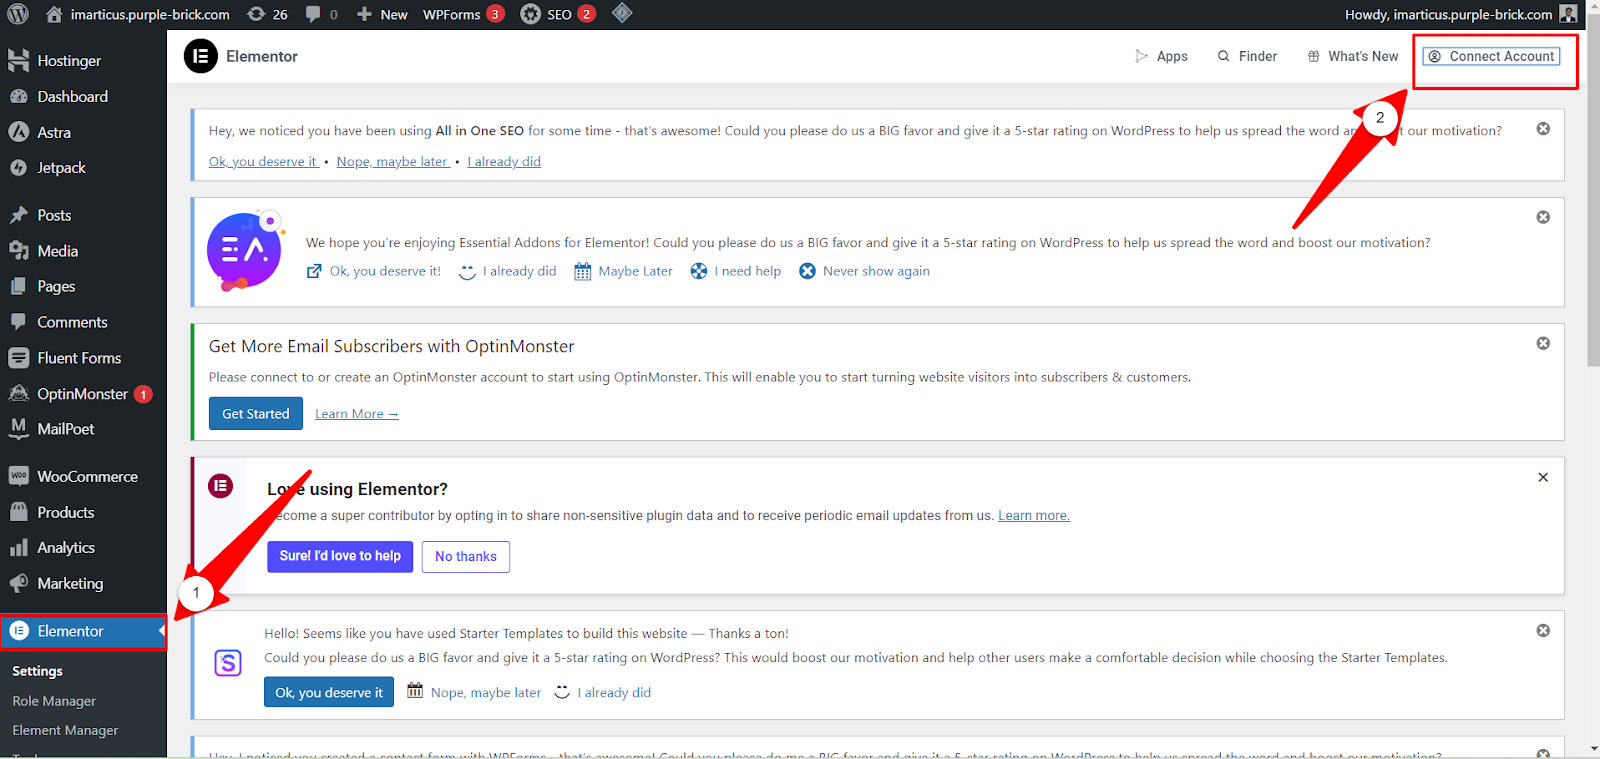
- You can find the Elementor tool option in the window’s left panel. Click on it.
- In the top right corner of the screen, you’ll find the ‘Connect My Account’ option. Click on it to proceed.
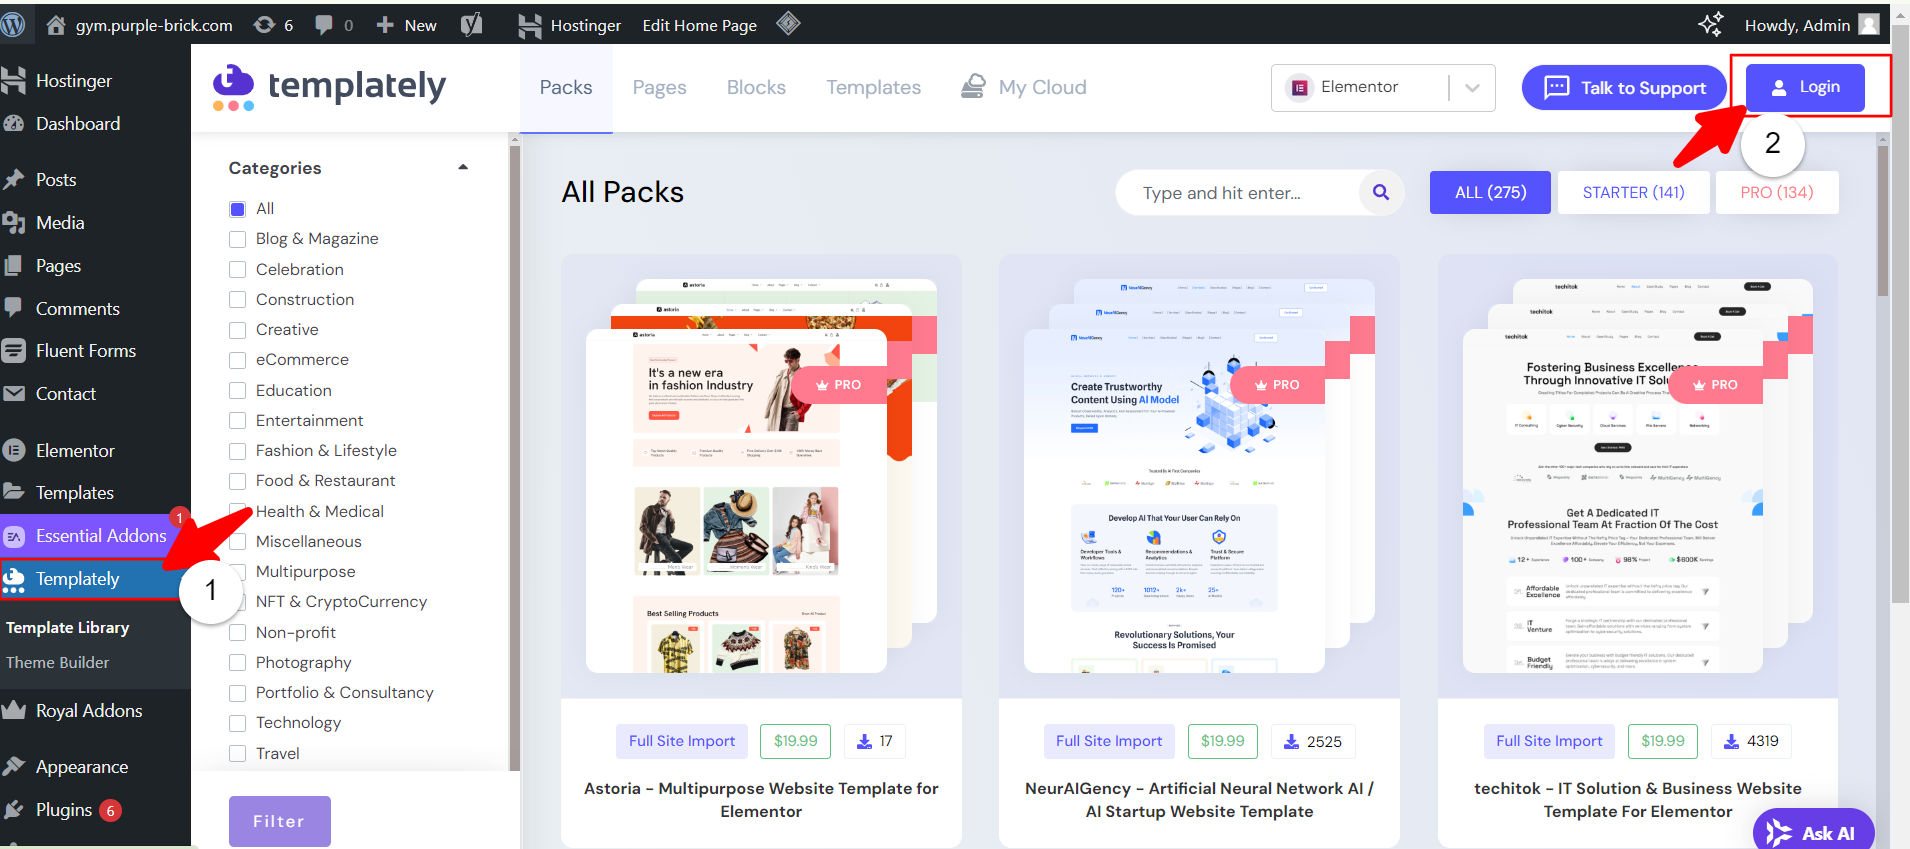
Create a New Account on Templately
- Go to the Templately in your WordPress admin dashboard.
- Look for any account-related settings or options.
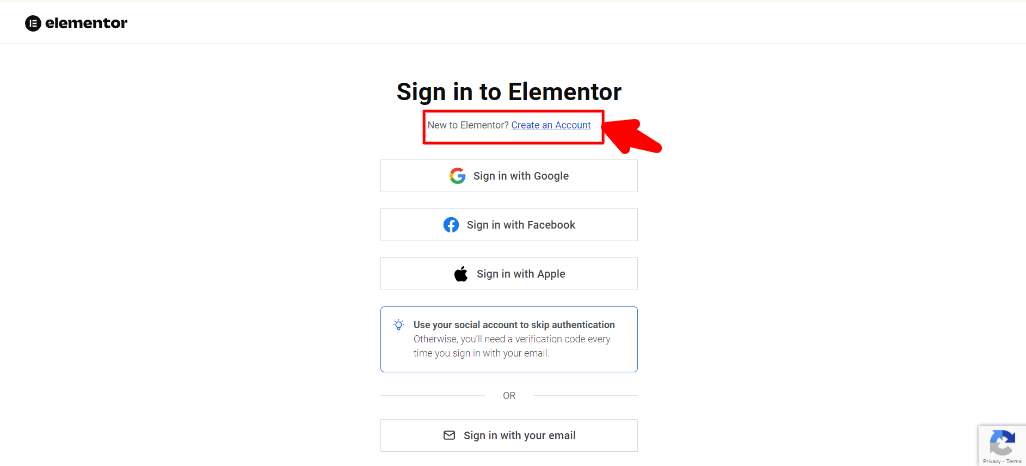
- There might be an option to log in from your Templately account. Click on it to login.
4. Now click on Free Sign Up. Fill in all the necessary fields. After that, you will get a verification mail that you need to verify from your email inbox.
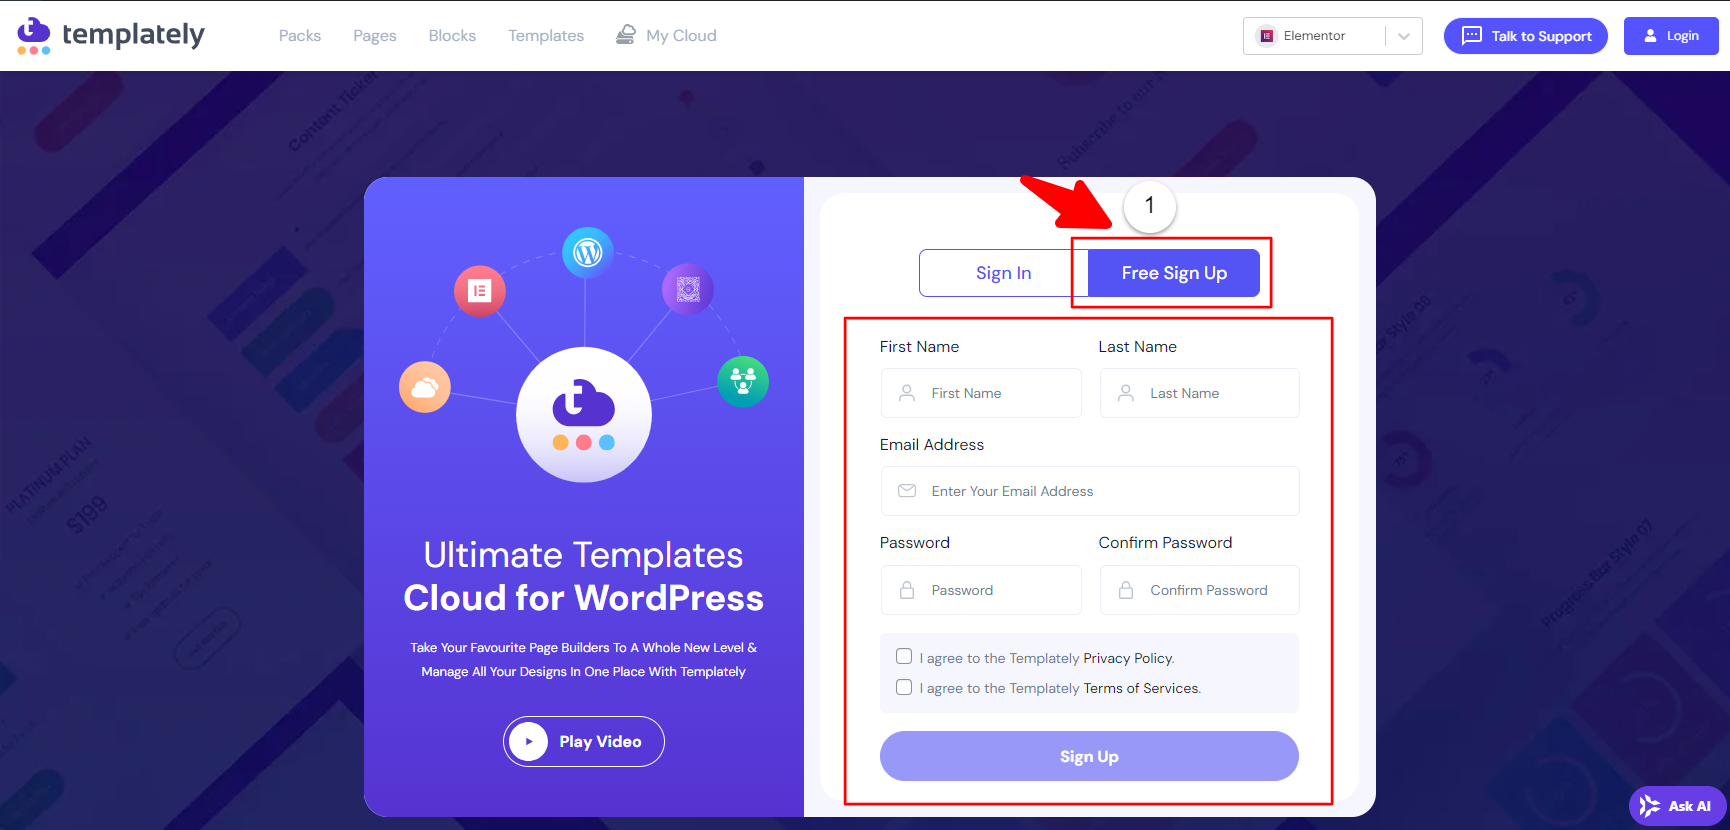
5. Now, You have successfully created an account on Templately.
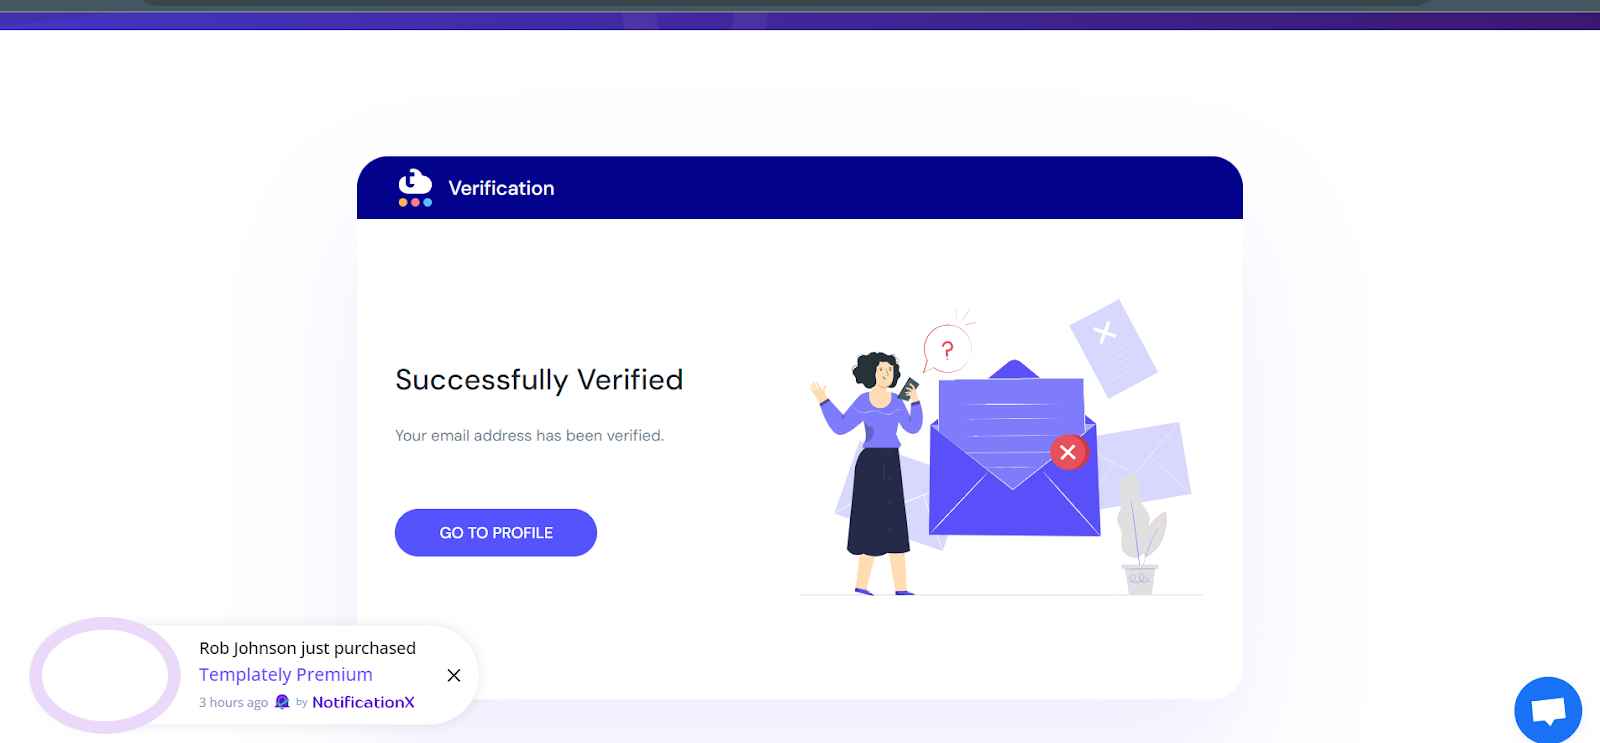
6. After verification you will be redirected to the success page (refer to the screenshot below).

Add a Comment
You must be logged in to post a comment