
Table of Contents
ToggleGoogle Ads
Create “Google Ads” Account
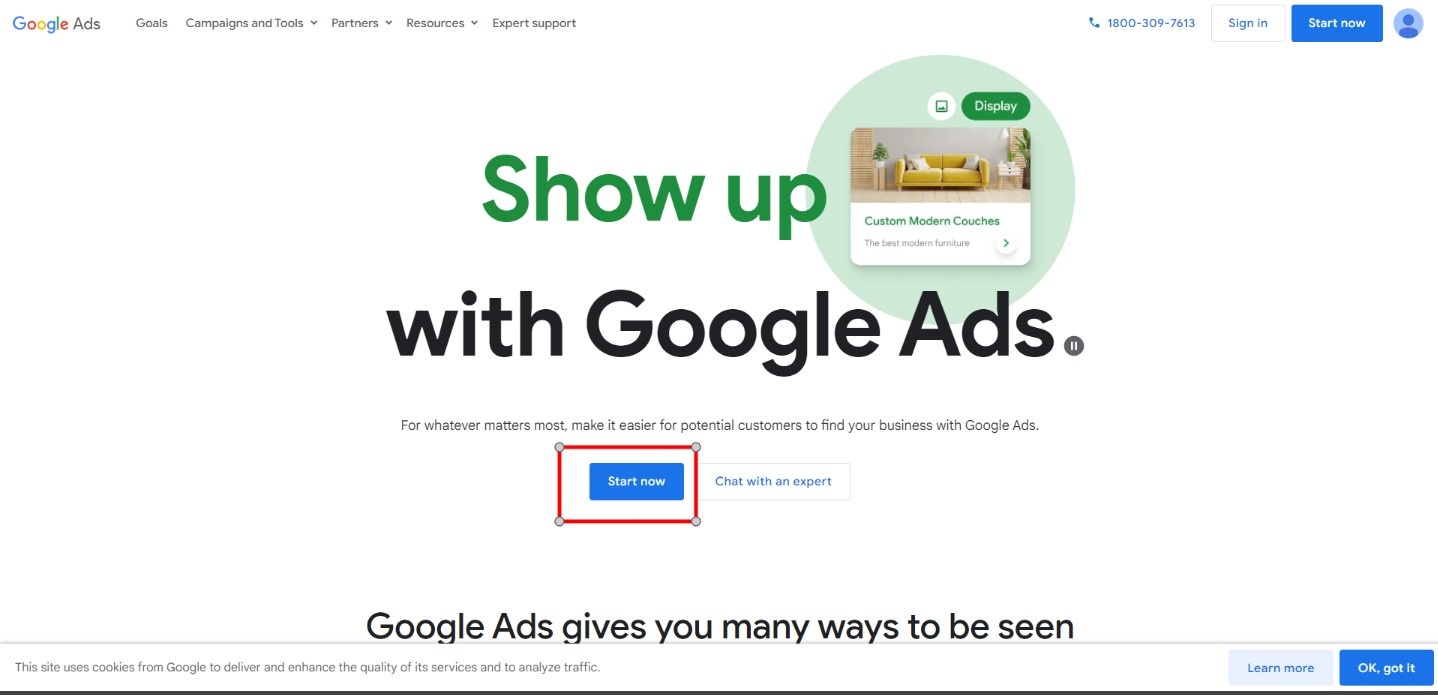
- Login to Google account and go to https://ads.google.com/home/
- Click “Start now” given below.
- Google will immediately take you to the first step of setting up a Smart campaign. You don’t need to do this!
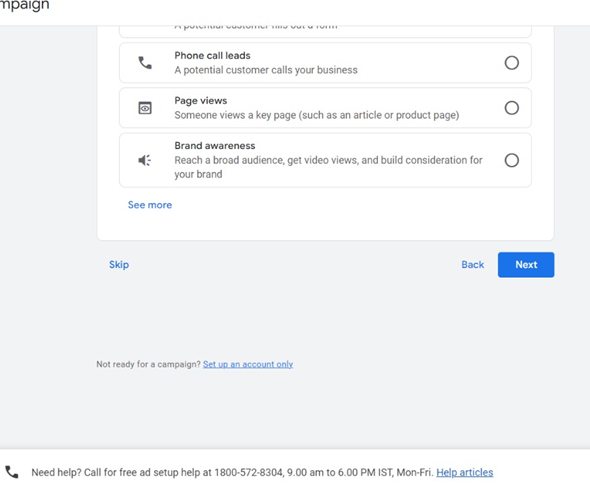
In some Google Ads accounts, you find the option to “Skip Campaign Creation” Click “ Skip Campaign creation”
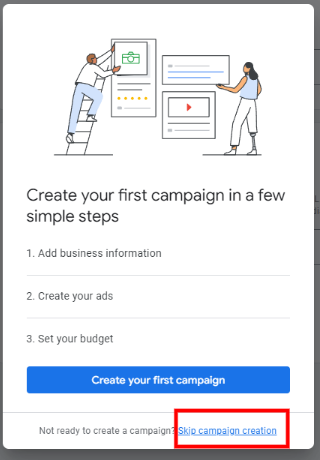
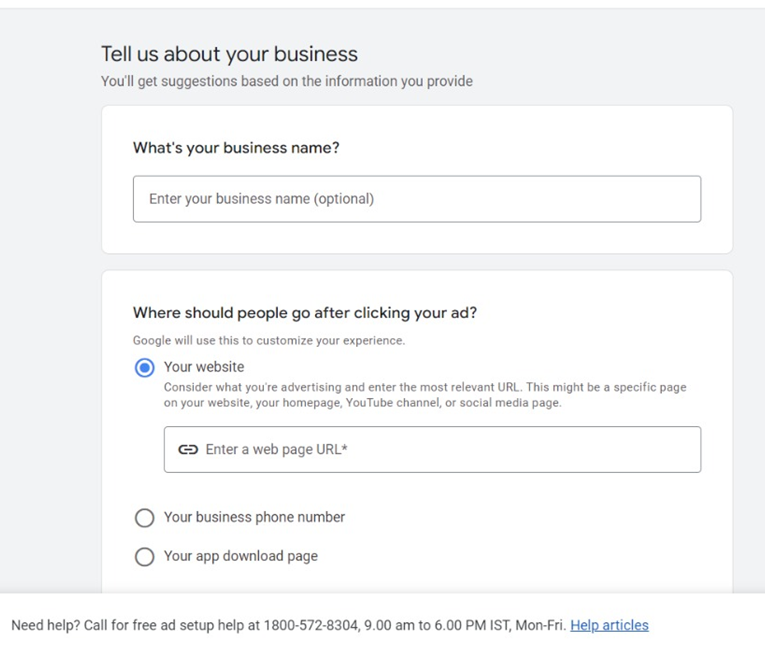
4.If you don’t find the Skip Campaign Creation Click on “Create your First Campaign”
Fill the “Business Name” as your Website name and add your website URL.
5. Skip this Step
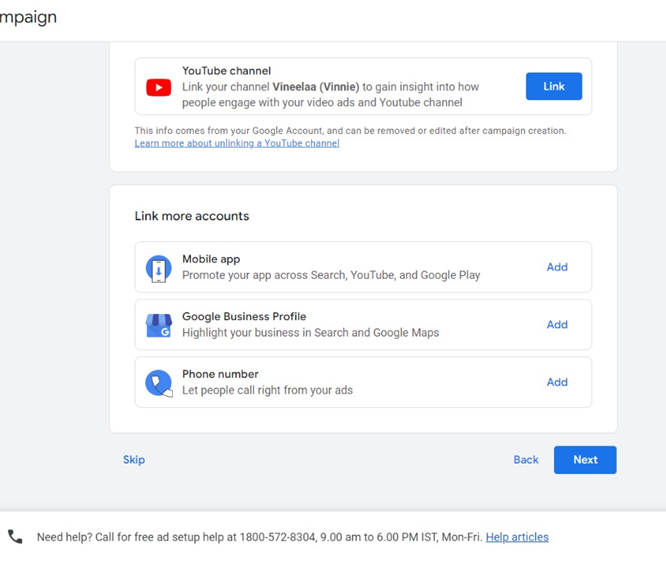
6. Scroll down and Click on “Set up an account only”.
7. Fill the Relevant Details and Click on Next.
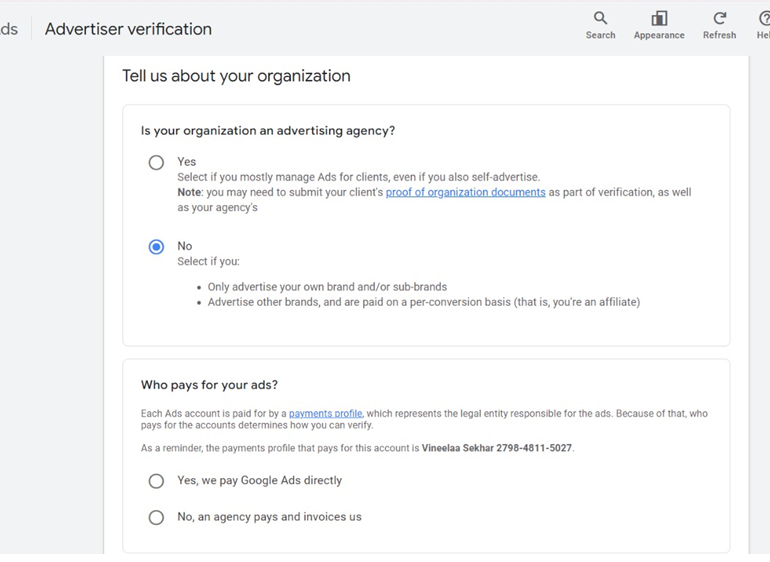
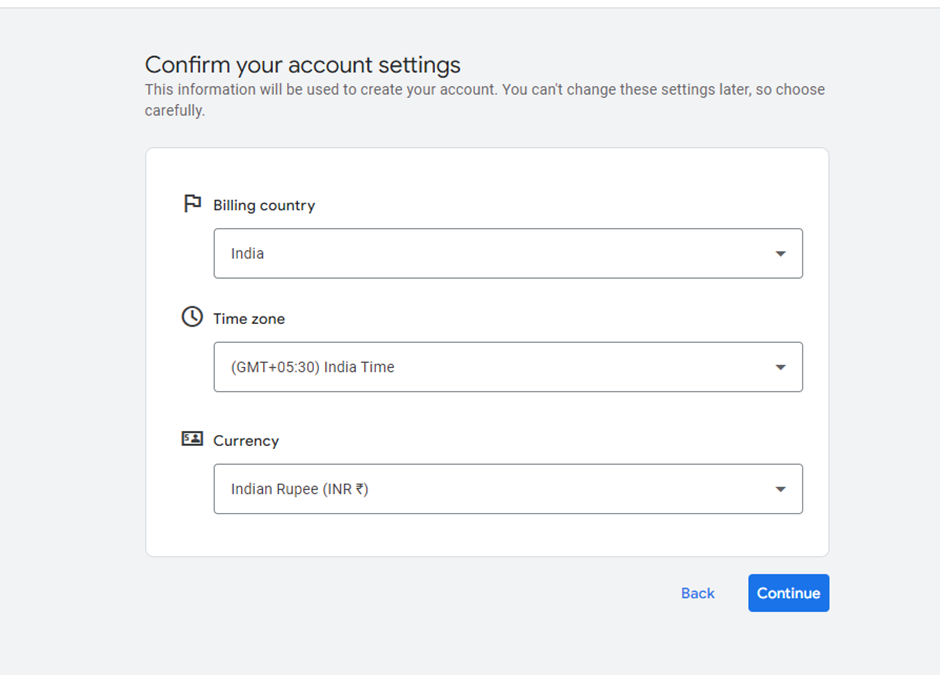
8. Now select business billing information…(Select “India” as “Billing Country”, “(GMT+5:30) india time” as “Time Zone” and “Indian Rupee” as “Currency”) and then click “No” then the “Submit” button.
Note: Fill the information correctly as this can’t be changed later
- Now you will see another screen shown below.
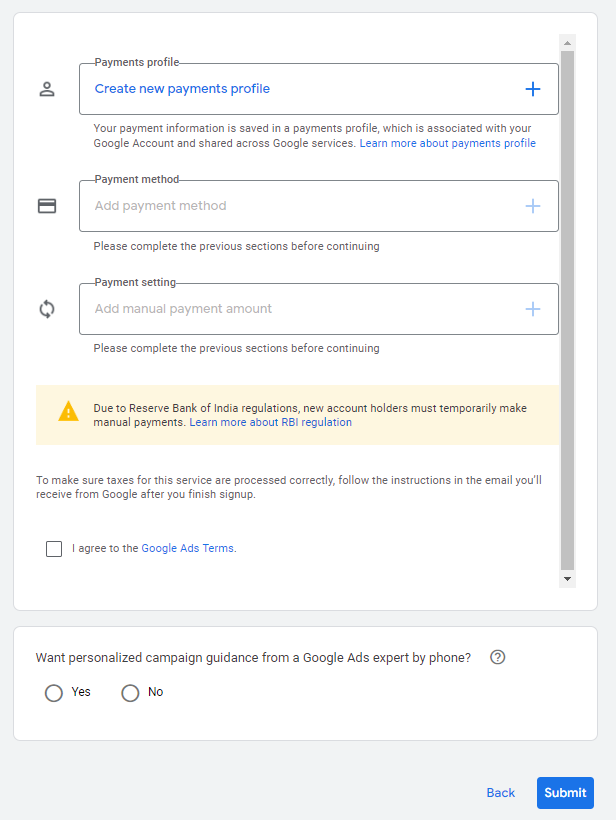
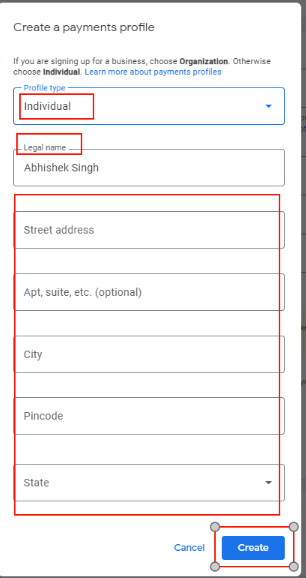
10. Click on the “Create New Payment Profile” option which has been shown above.
A new pop-up box will appear. Add all the necessary details: Profile type as “Individual”, Name, and Address. Then, click on the “Create” button.
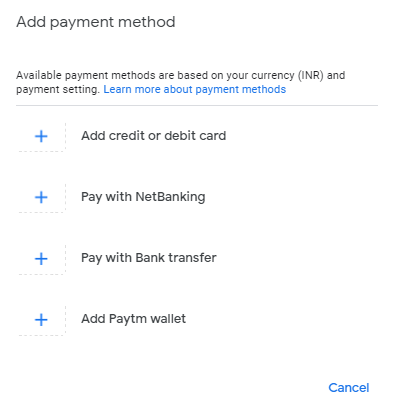
11. Select the “Pay with Bank Transfer” option by clicking on the “Payment Method” tab.
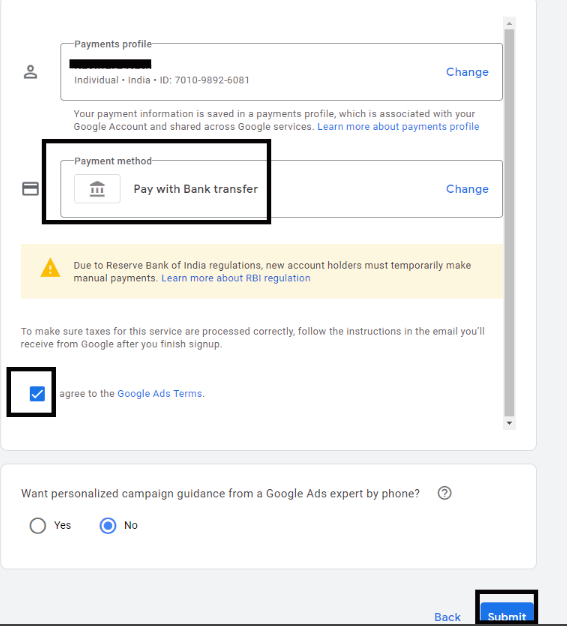
12. After filling all the details, you will see something like shown below.
Now select The terms and conditions and click on the Submit button as shown below.
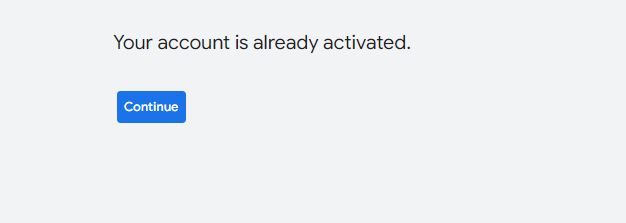
13. You are all set now. Click on the “Explore your account” option, to explore your account.
Add Business Name & Details in “Google Ads” Account
1. Login to Your Google Ads account.
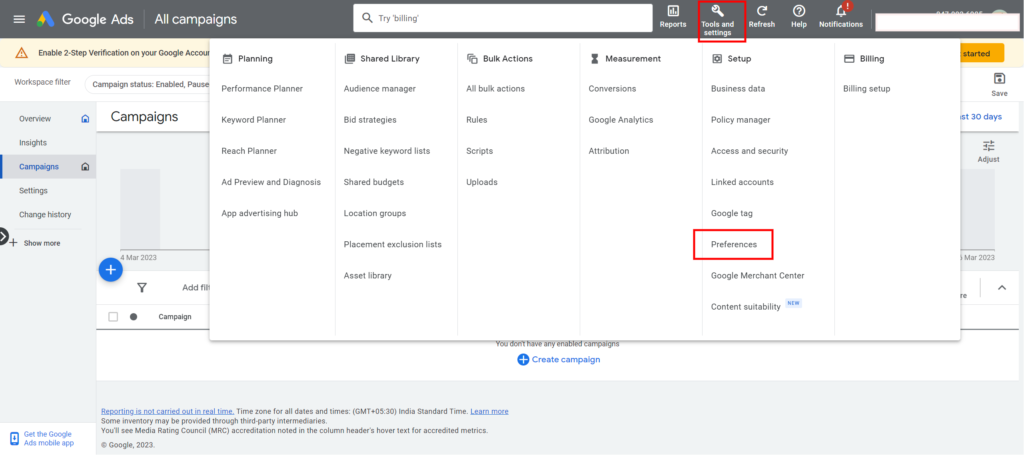
2. Go to “Preferences” options.
2a. Follow this if you have old interface of Google Ads –
2b. Follow this if you have new interface of Google Ads –
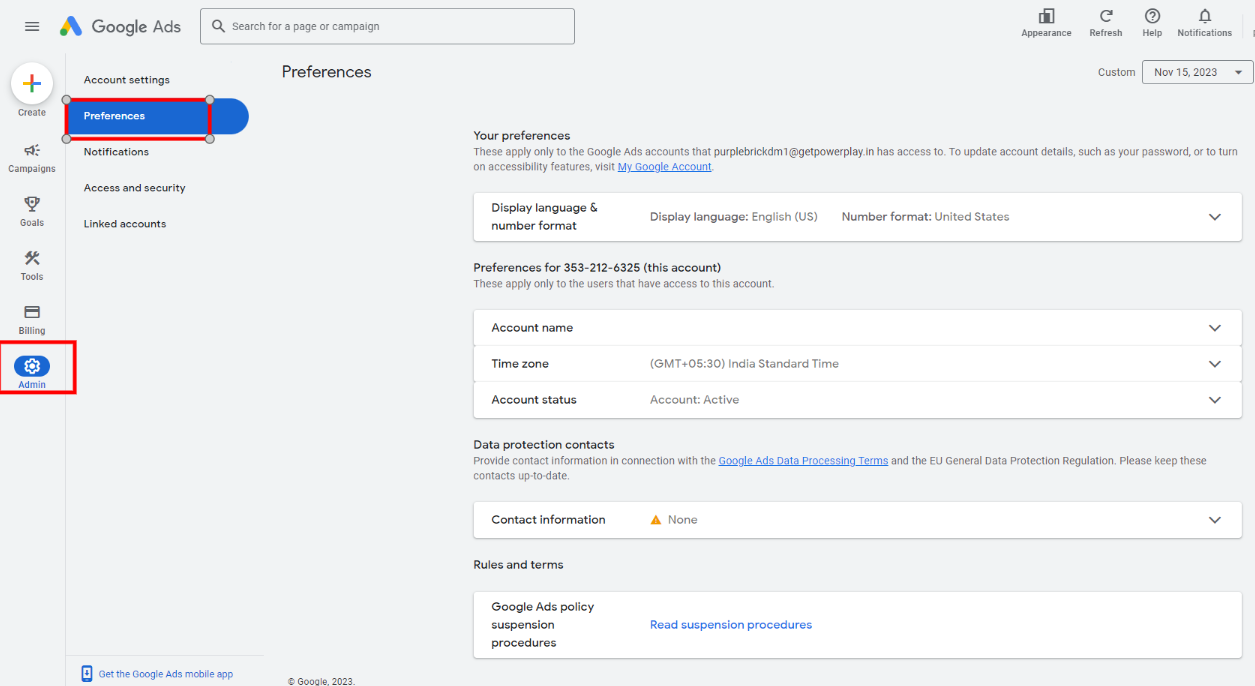
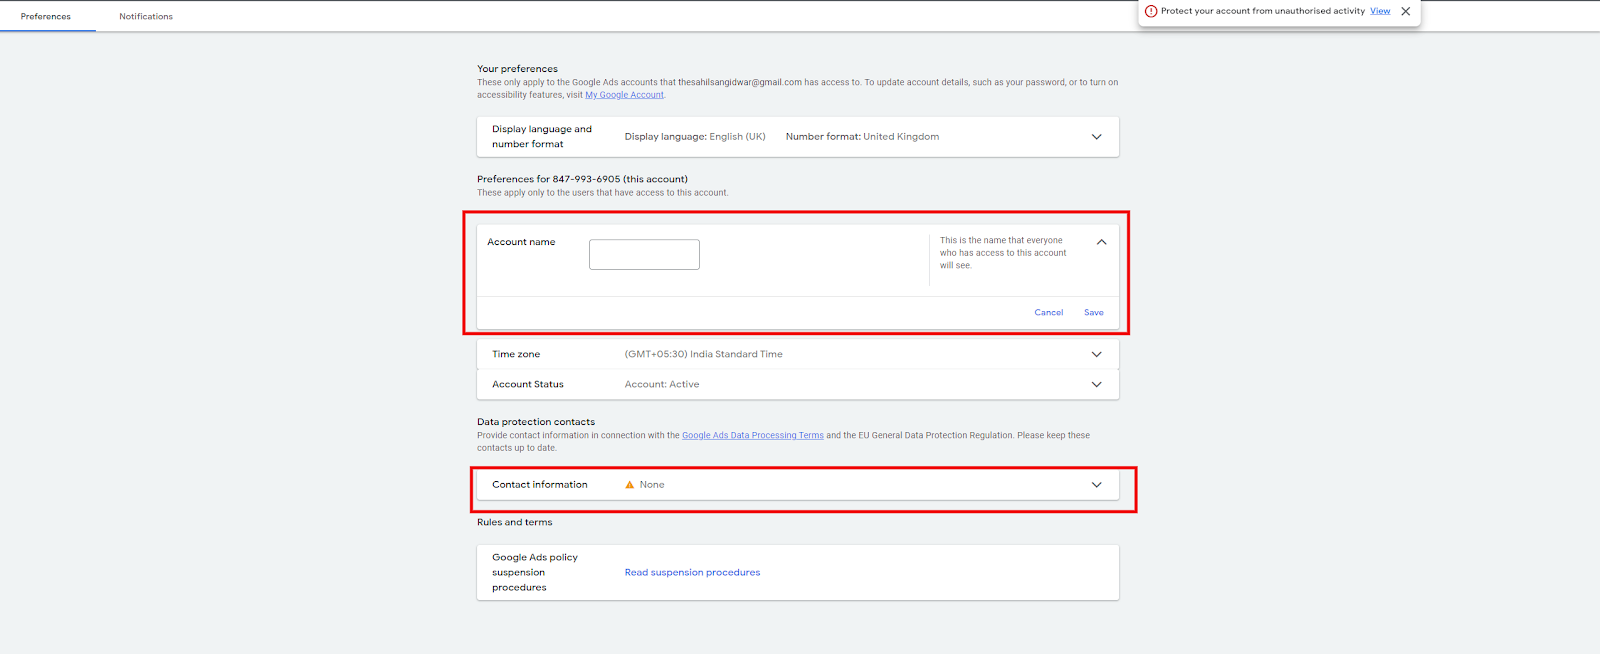
3. Enter the Account Name (Business Name) & Contact Information and Save It.

Add a Comment
You must be logged in to post a comment