
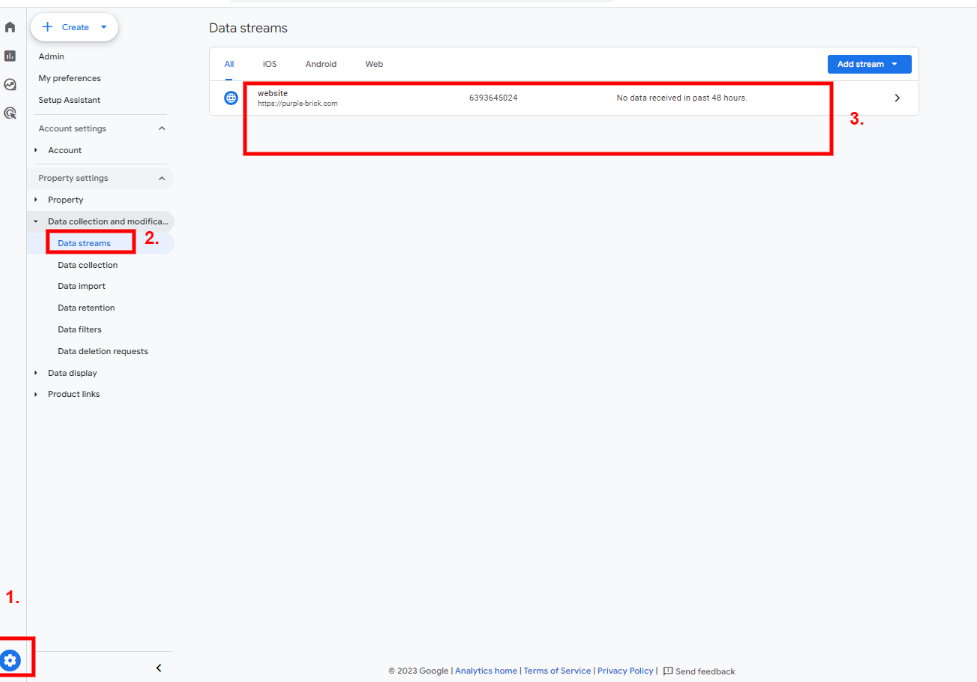
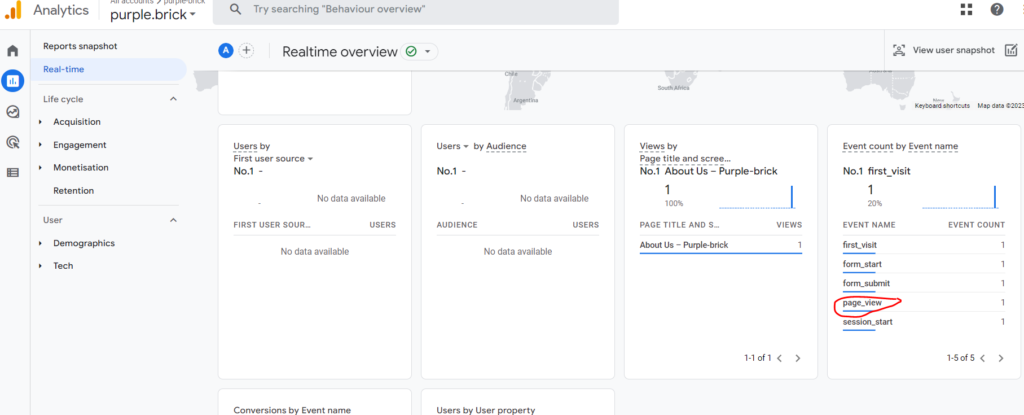
6. You will see different event parameters. Choose “Page-location”.
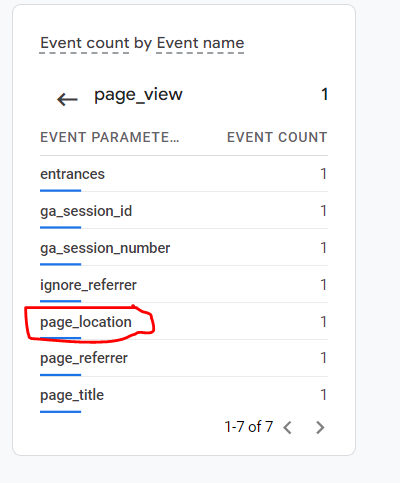
7. Now you can see the Page URL.


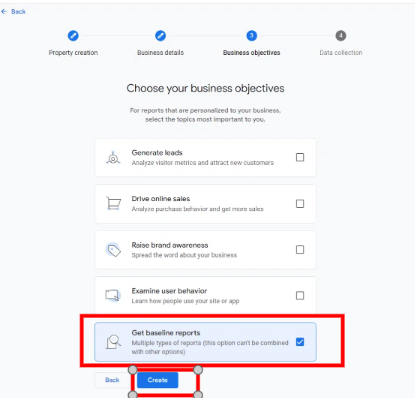
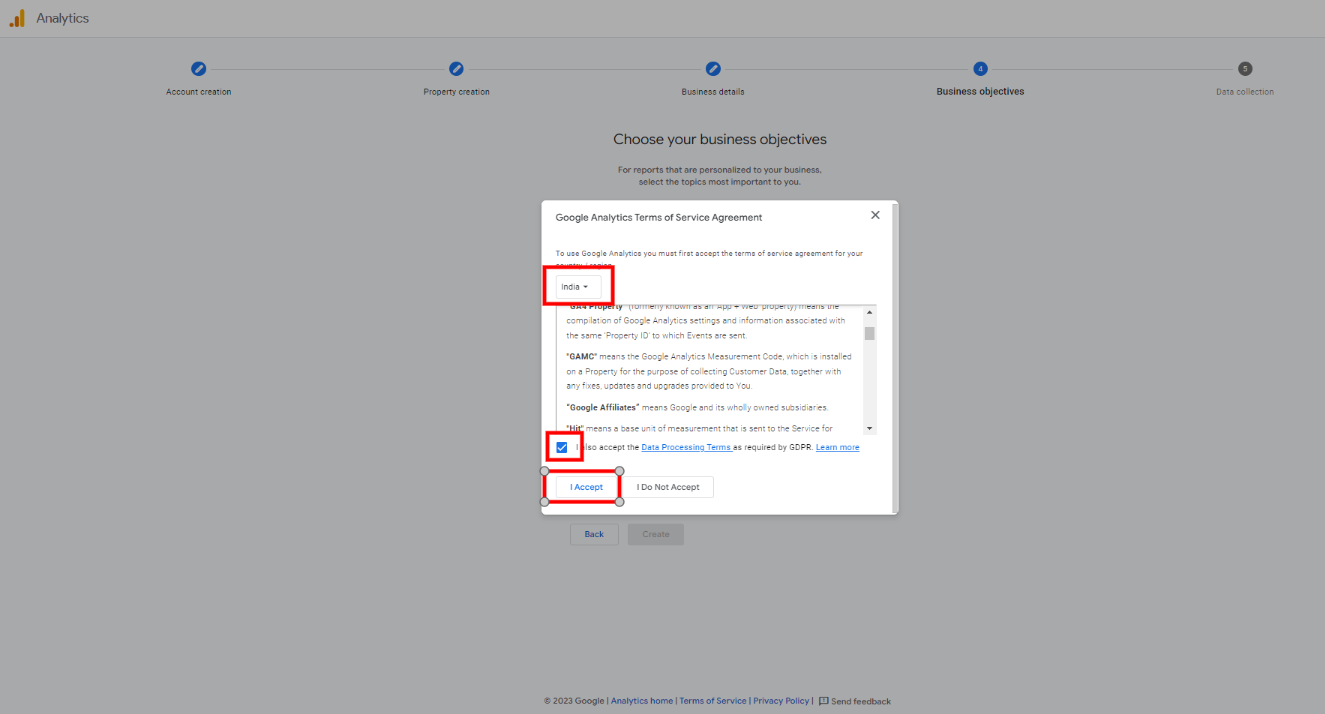
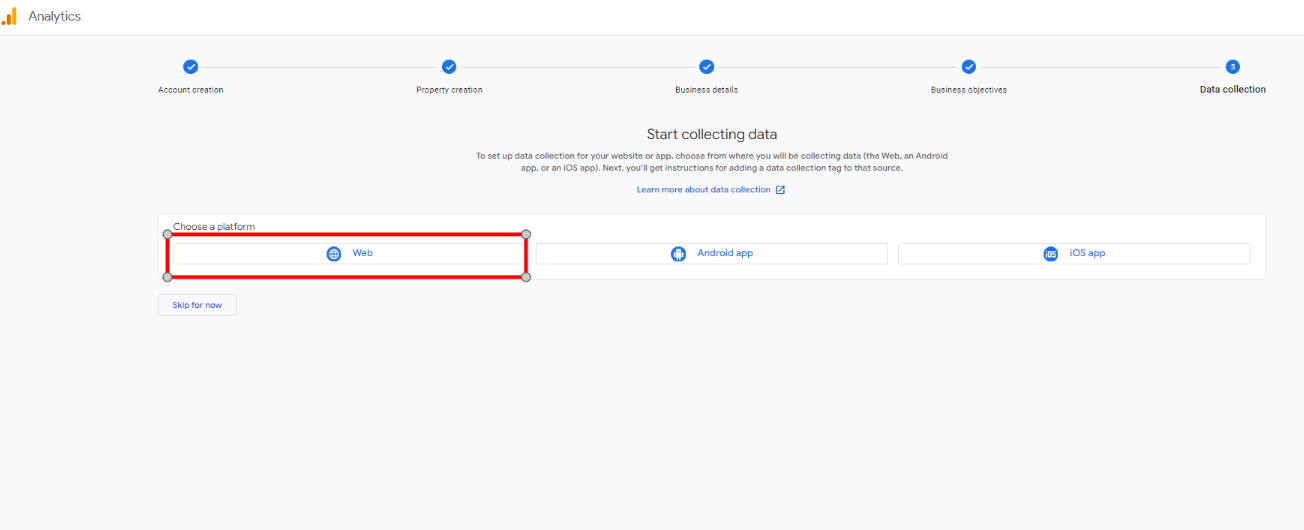
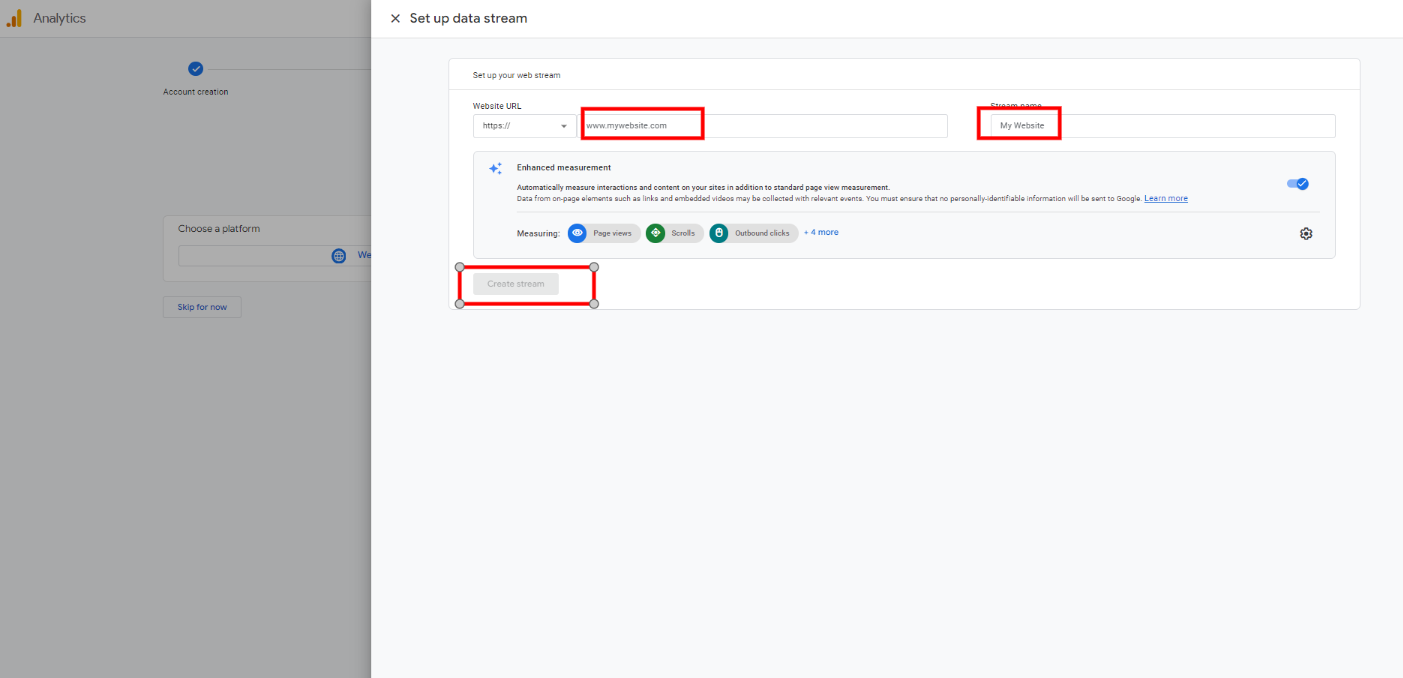
7. Click on the “Skip” button.
8. Click on Next button
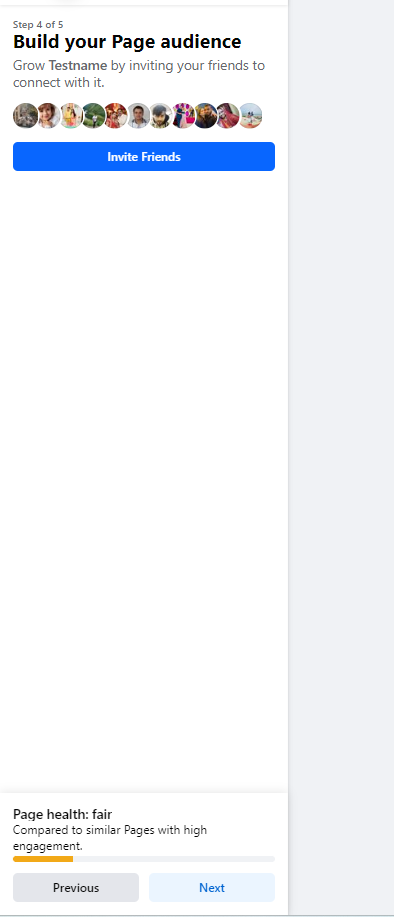
9. Click on “Done” tab.
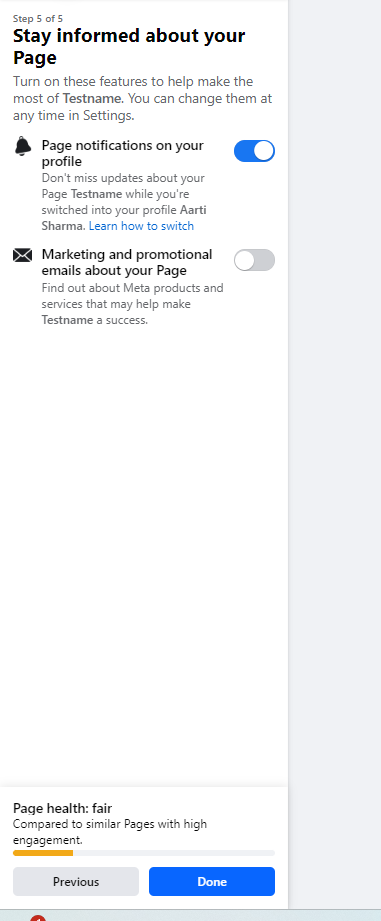
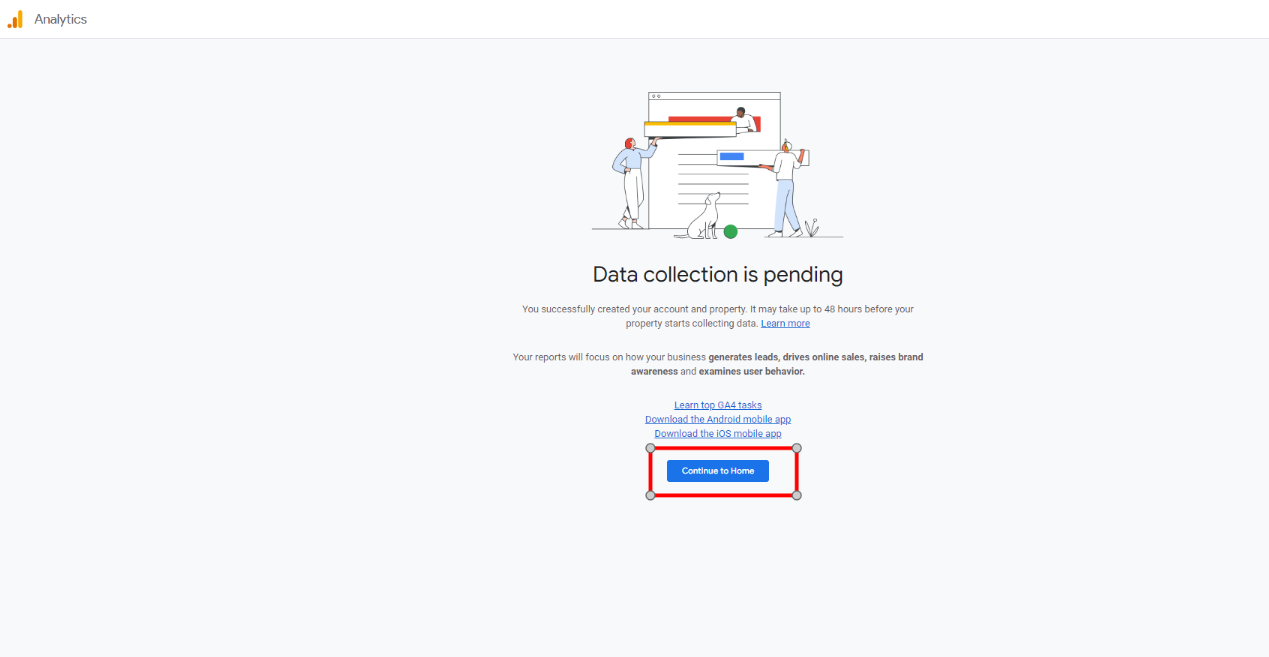
10. You are all set.
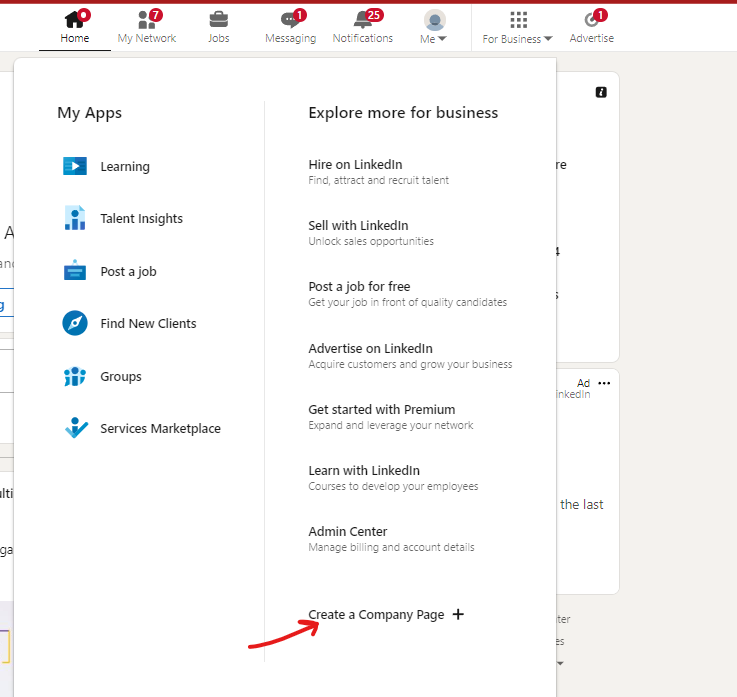
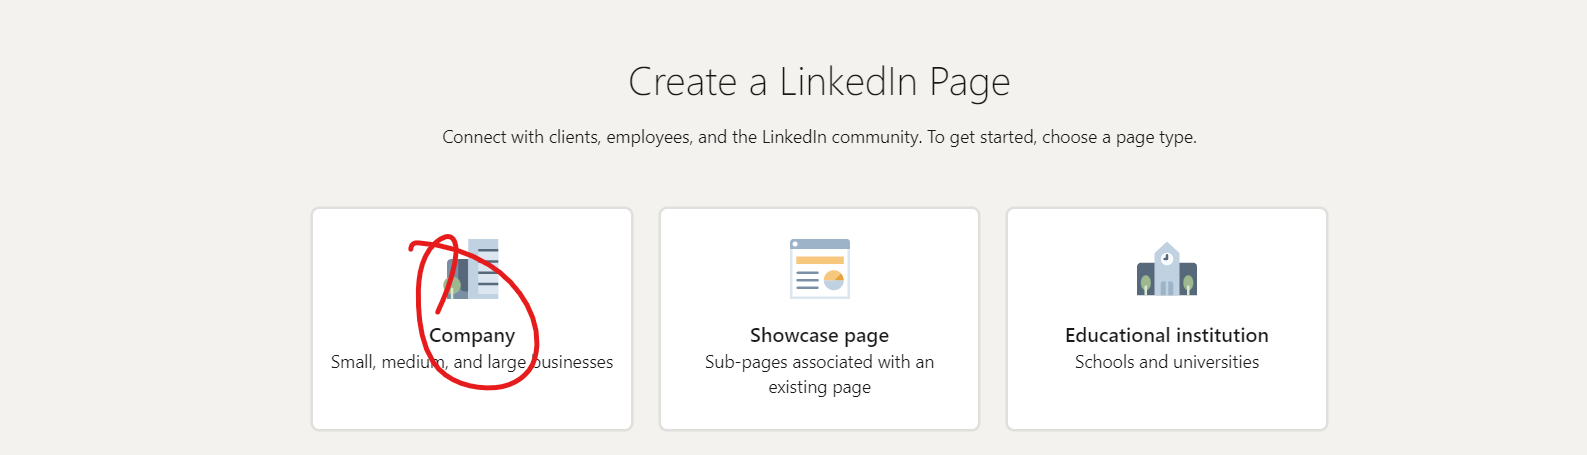
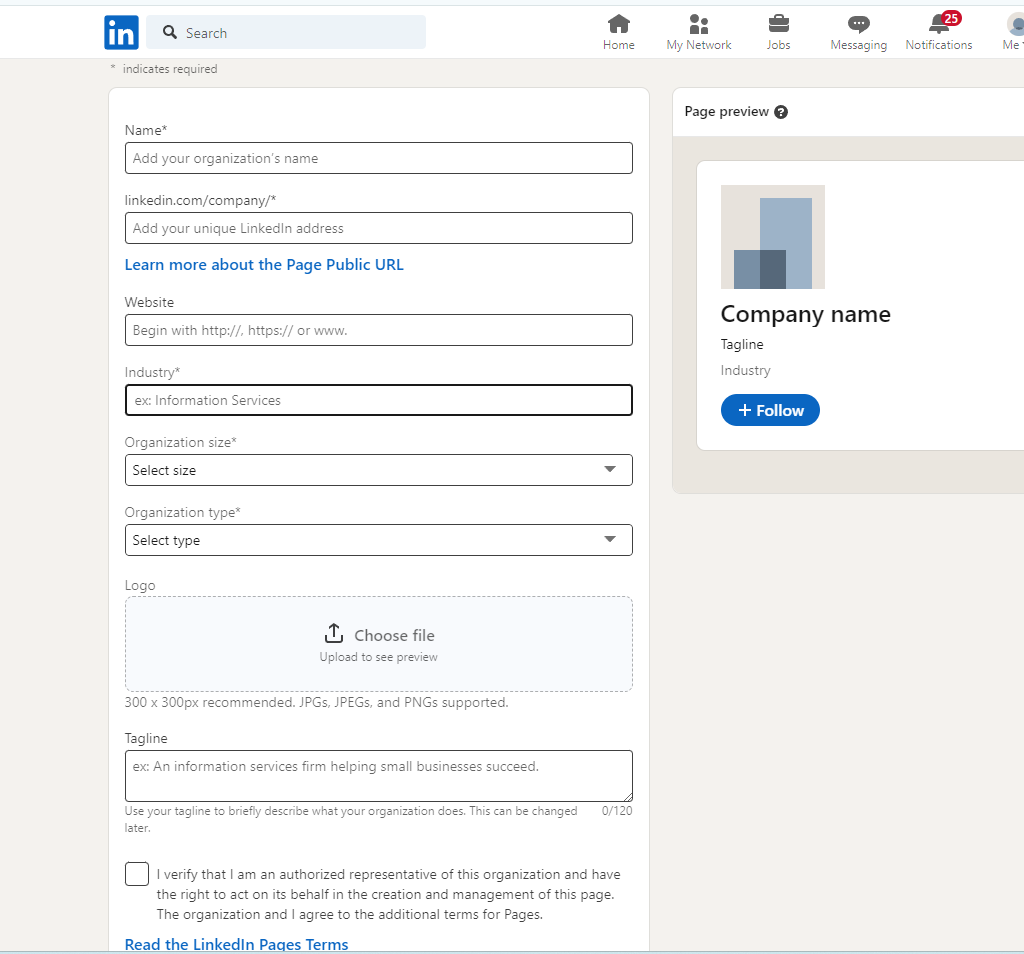
3. Choose “Company” as Page type
4. Enter the required information, check the verification box and click on the “Create page” button to publish your LinkedIn company page.
5. You will see a new window.. Fill all the Information and save it.
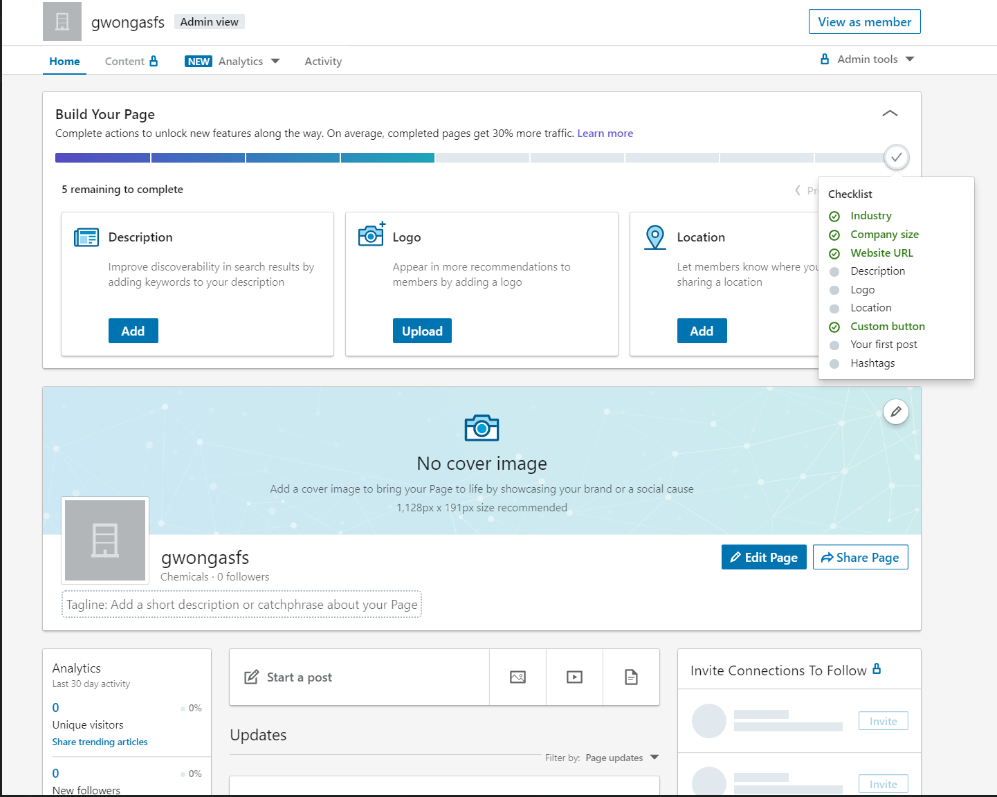
6. That’s it! You have successfully created a LinkedIn business page.
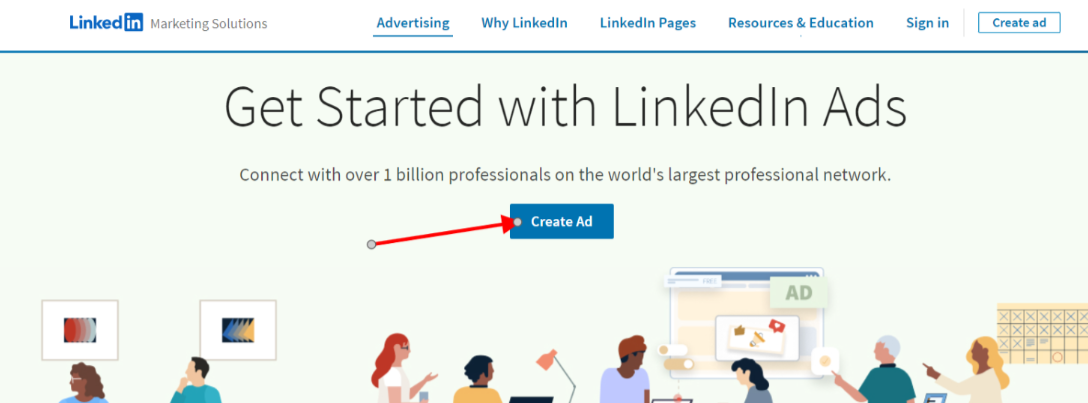
2. Now you will see a window. Click on the “Create Ad” button.
3. You will be redirected to the “LinkedIn Campaign Manager” interface where you need to create an Ad account.
- Write “Ad account Name” (Use your Website/Business Name as Ad account).
- Add your LinkedIn Page by searching the name.
- Choose INR as currency.
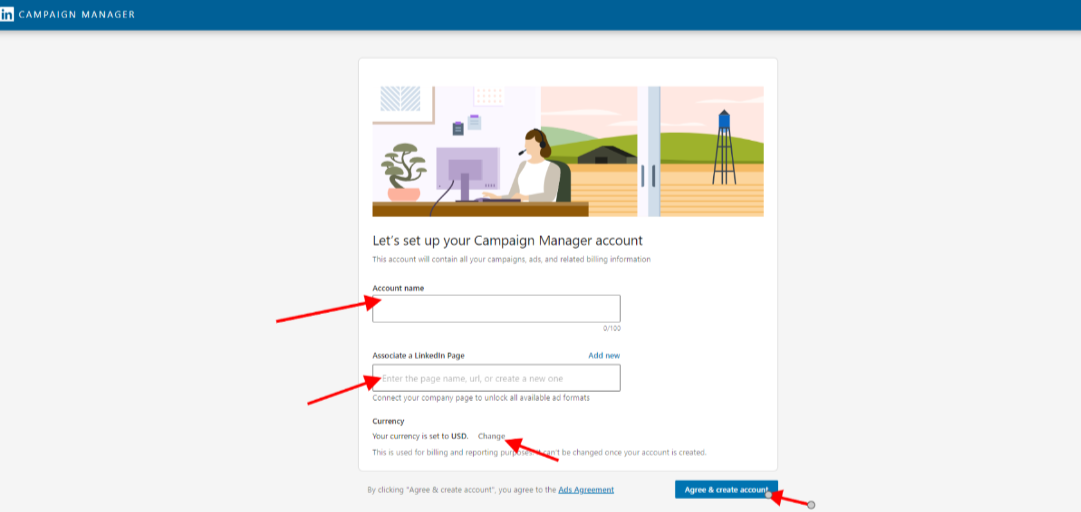
4. That’s it..It’s done.

Nitesh Kuchhal

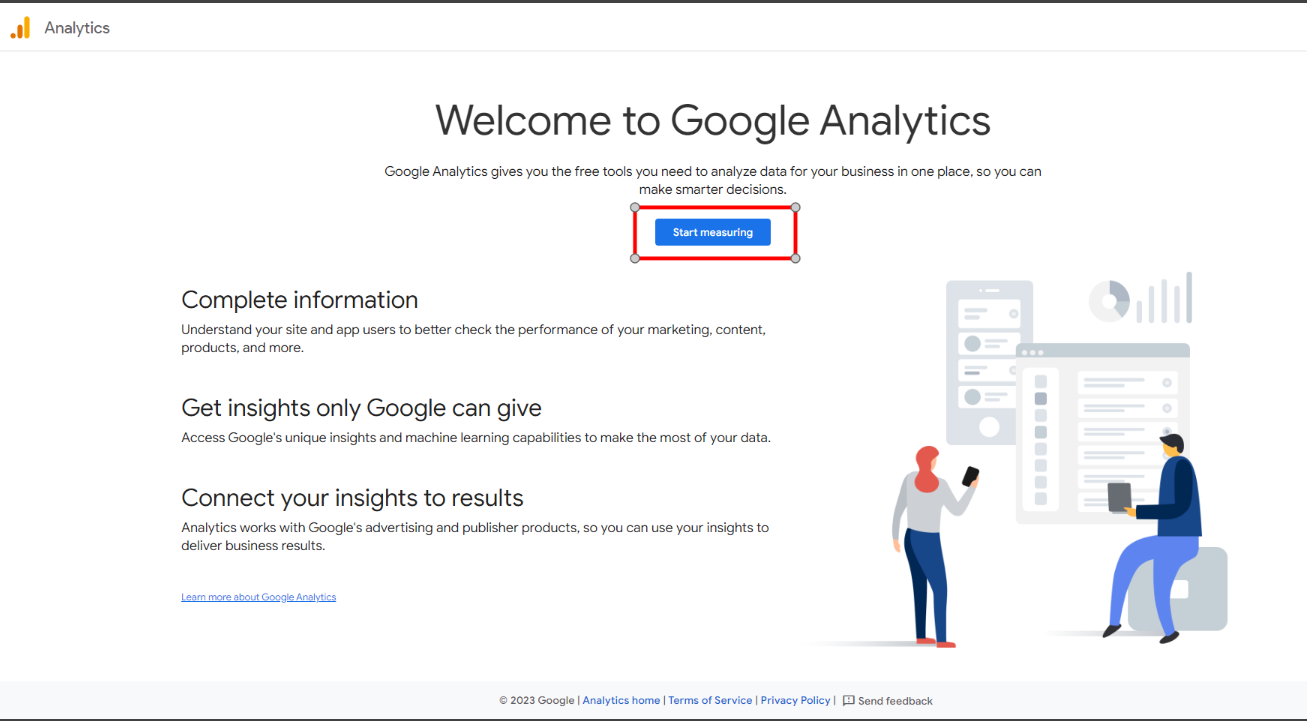
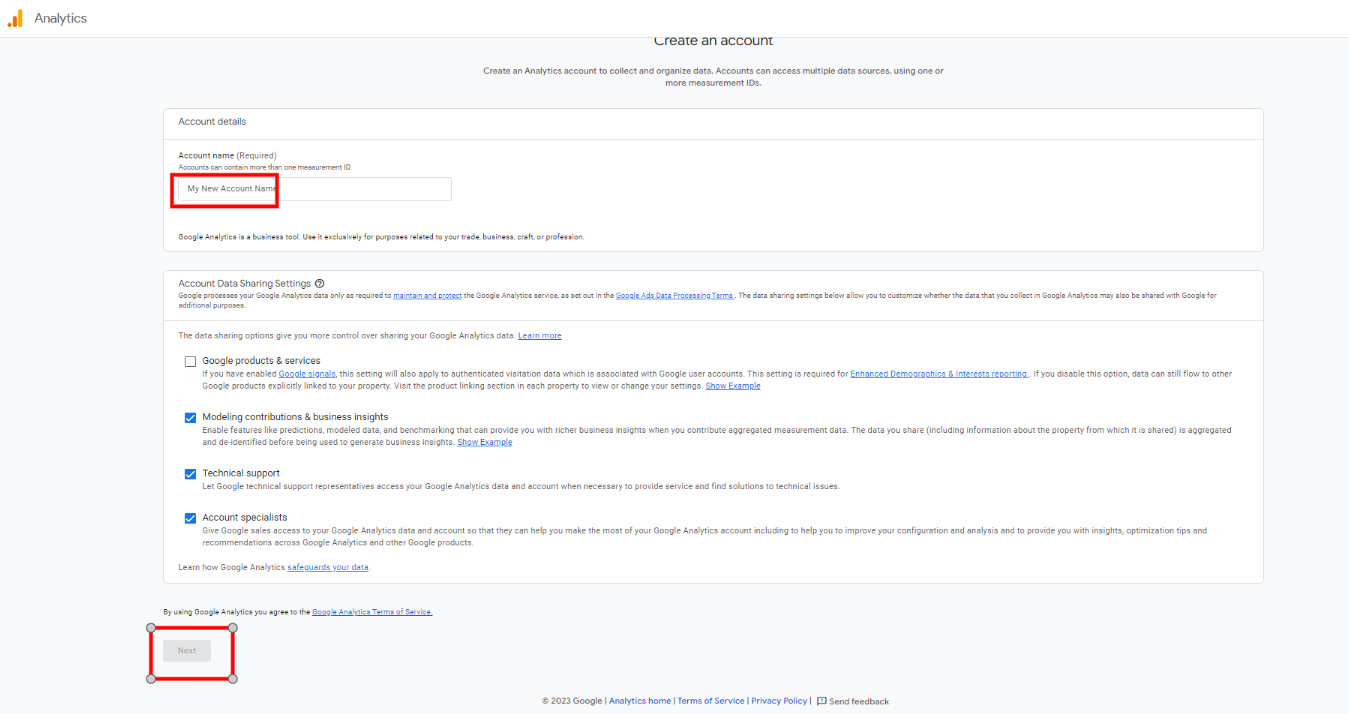
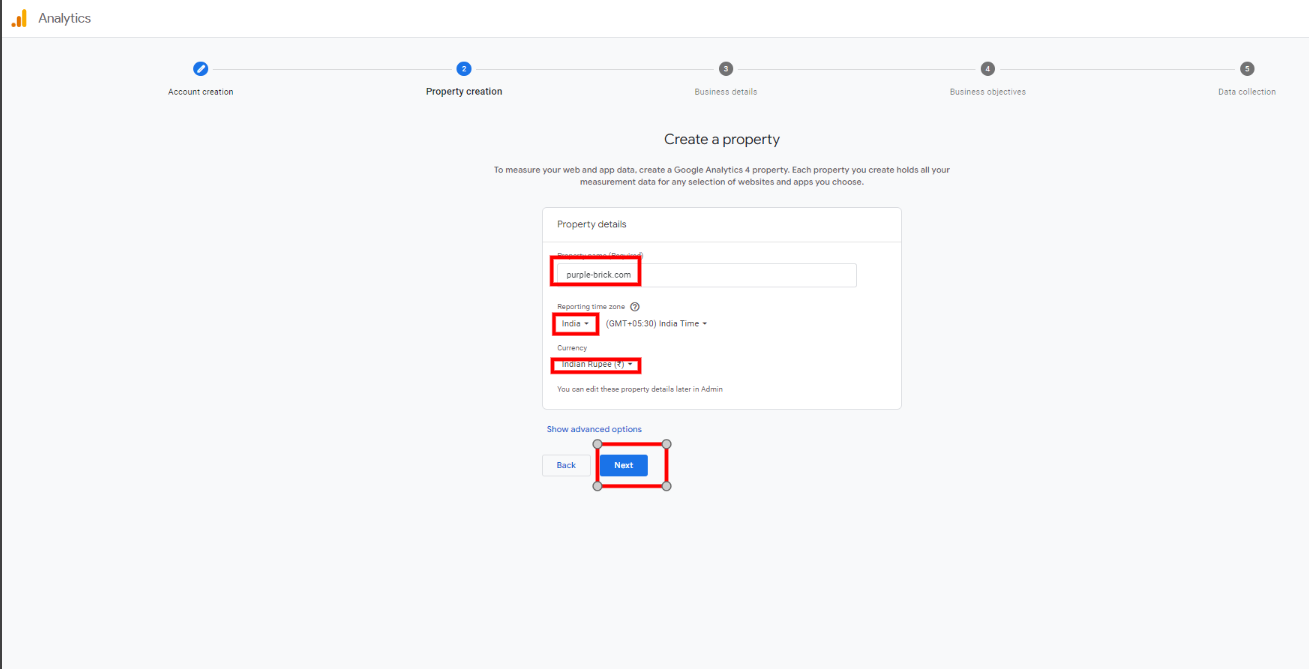
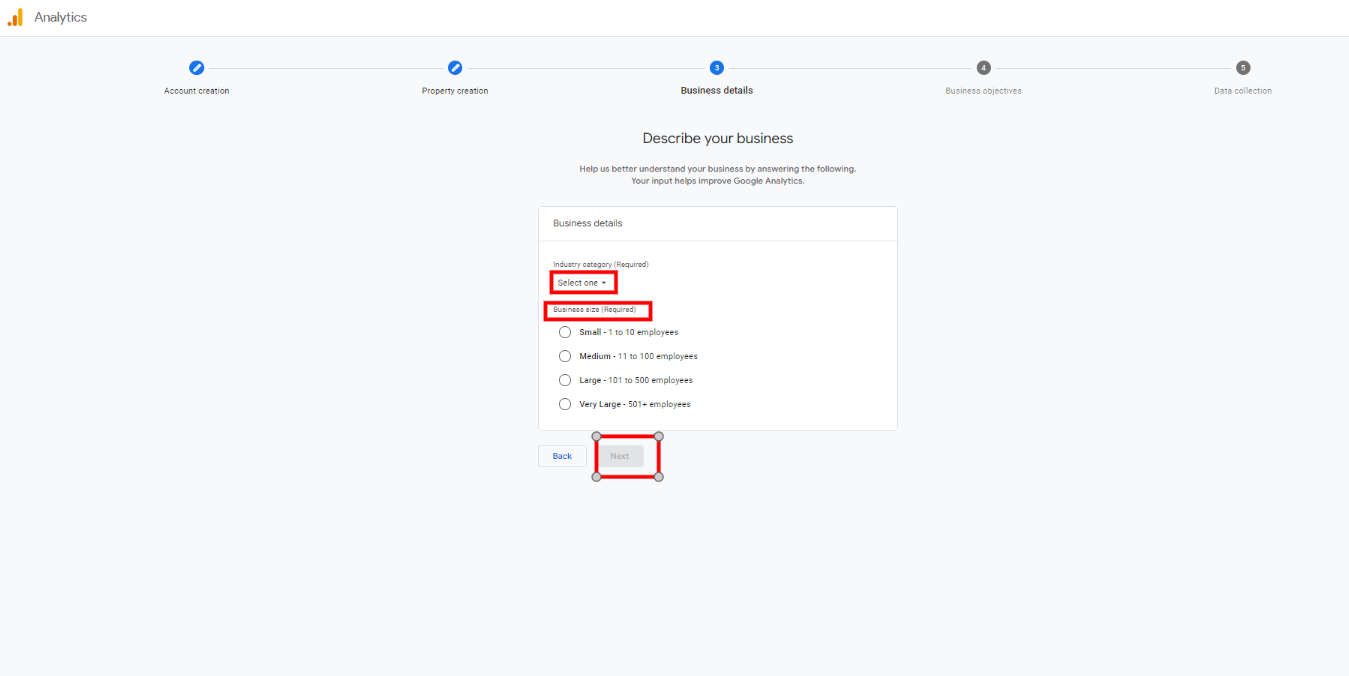
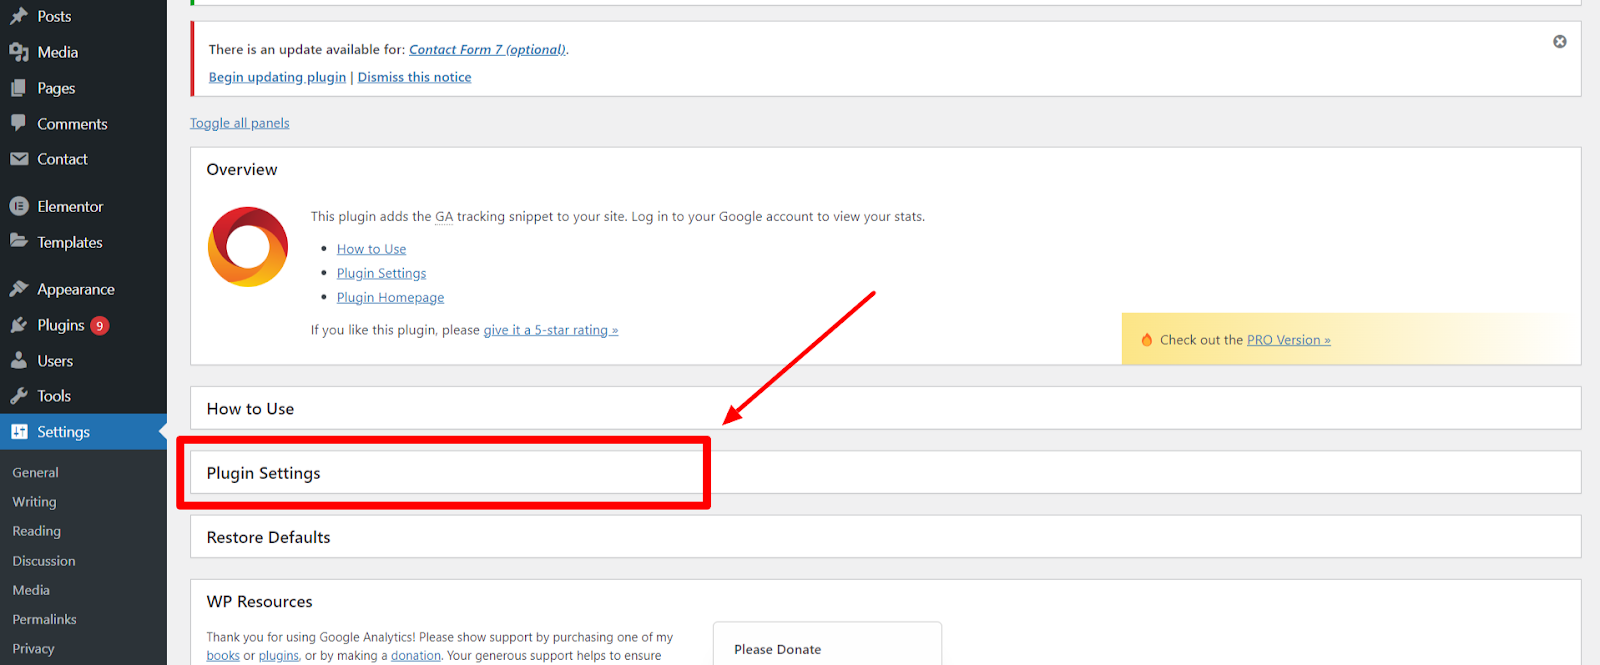
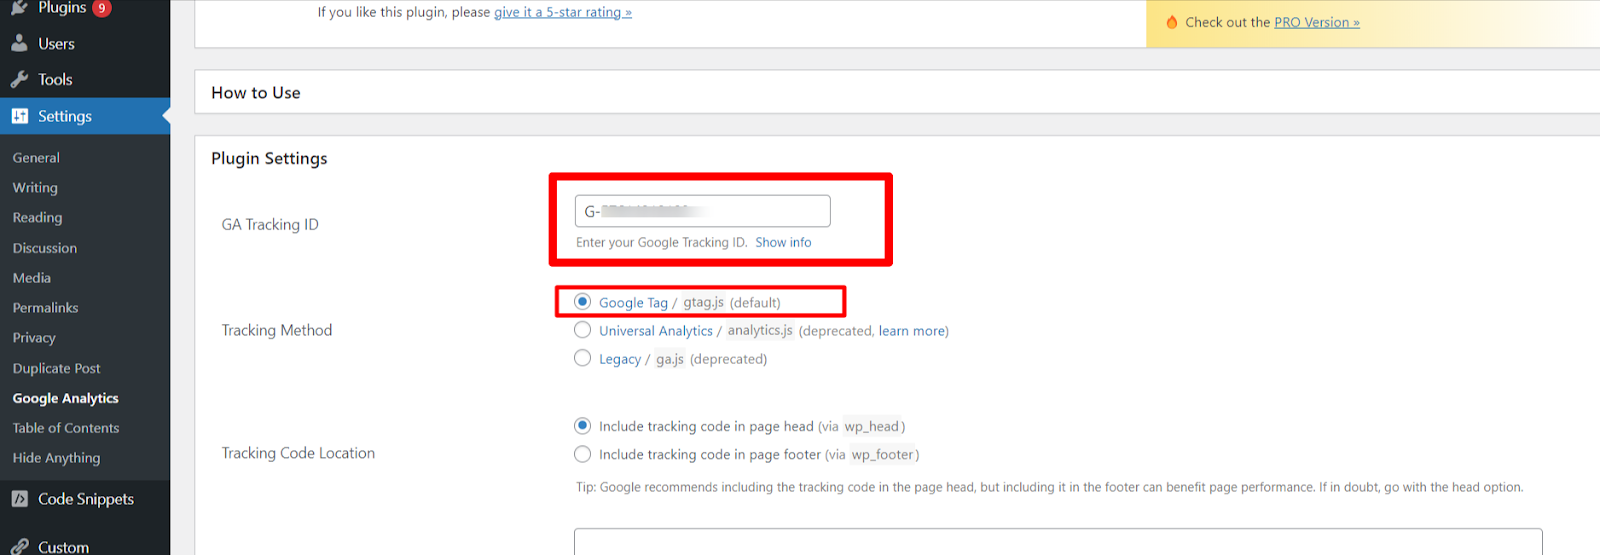
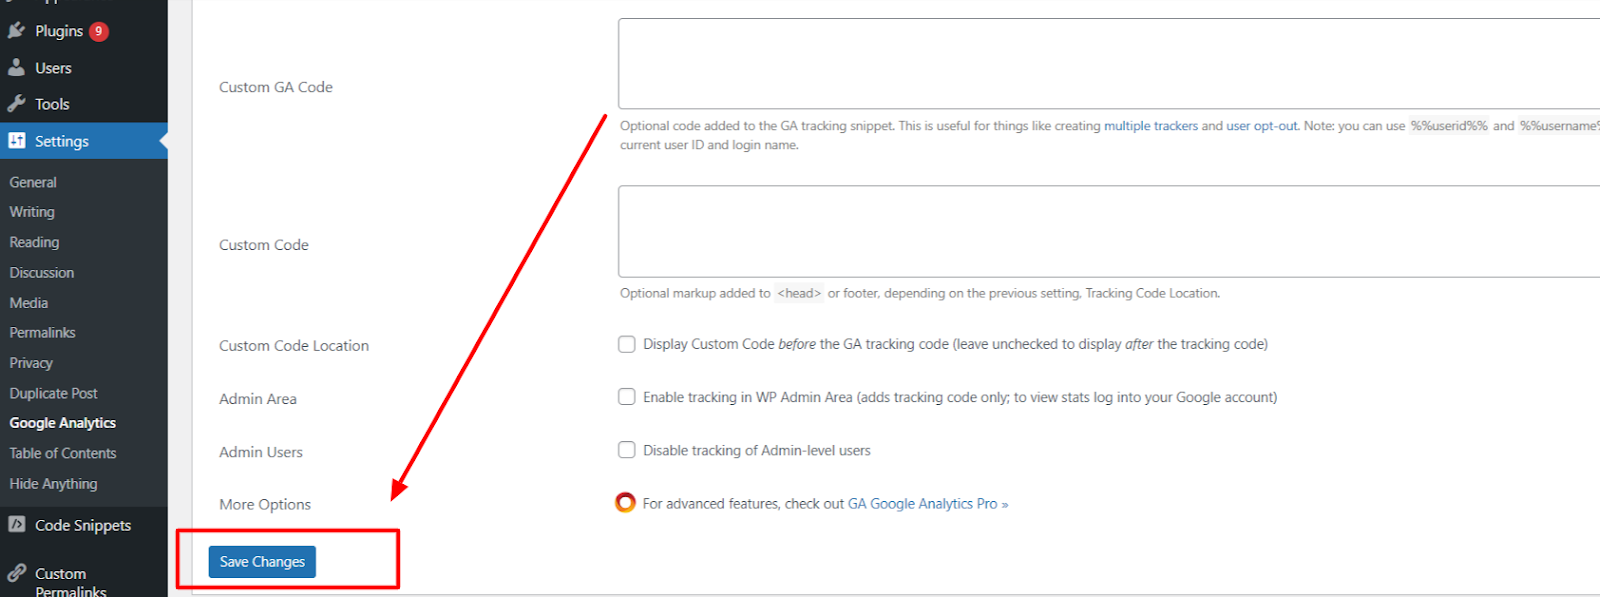
COMPULSORY SETUP
Enhance your digital marketing expertise with IIT Roorkee and Imarticus Learning’s certification course. Gain practical skills in SEO, social media, and more, taught by industry experts. Stand out in the competitive market with this prestigious certification.

ADVANCED SETUP
Enhance your digital marketing expertise with IIT Roorkee and Imarticus Learning’s certification course. Gain practical skills in SEO, social media, and more, taught by industry experts. Stand out in the competitive market with this prestigious certification.
Add a Comment
You must be logged in to post a comment